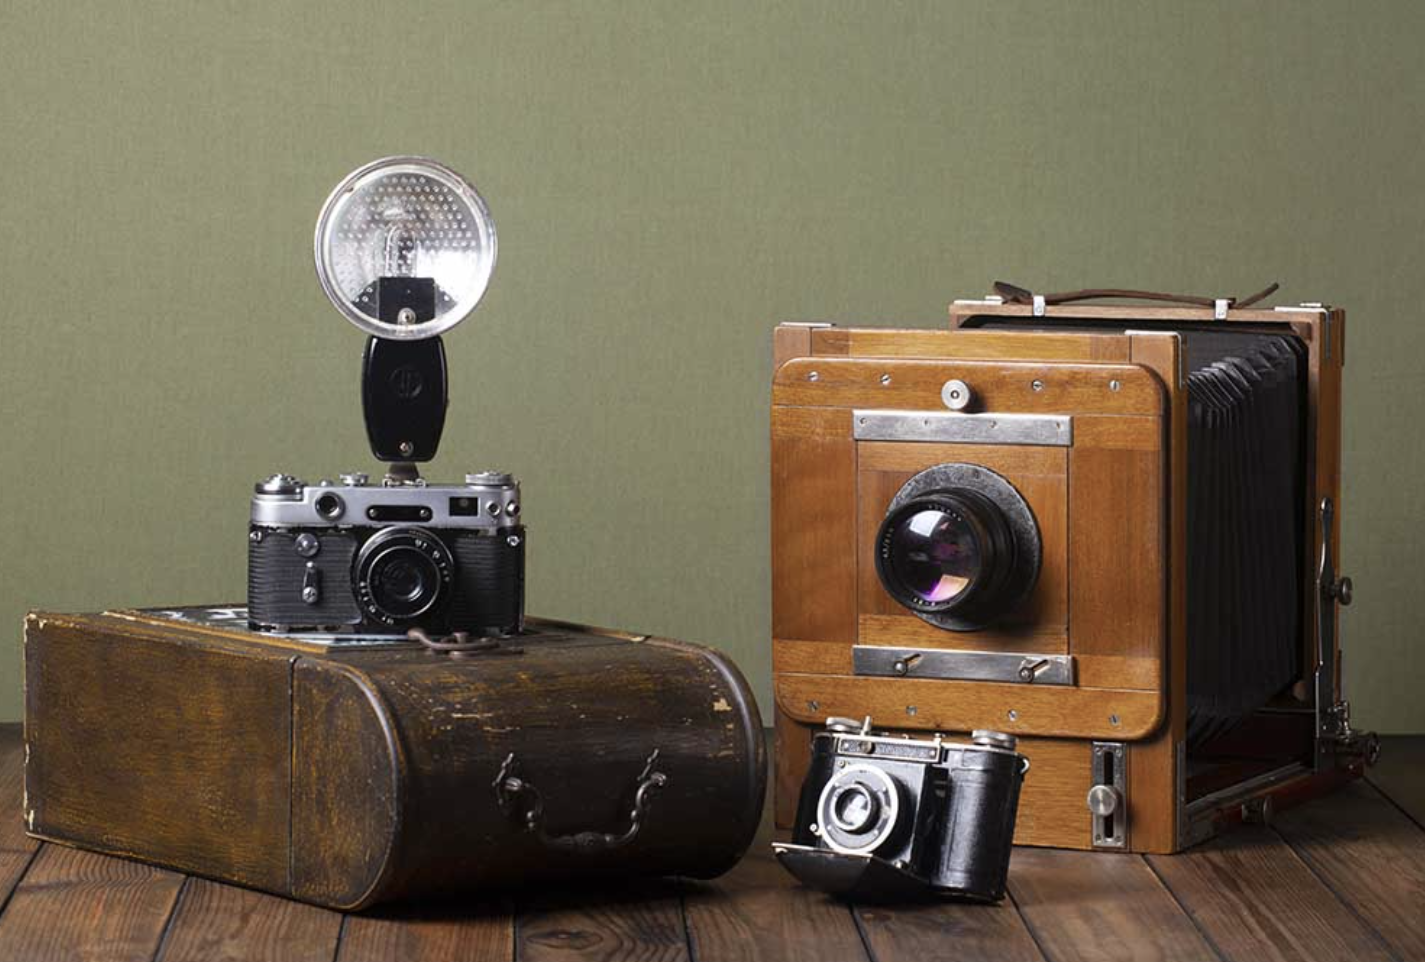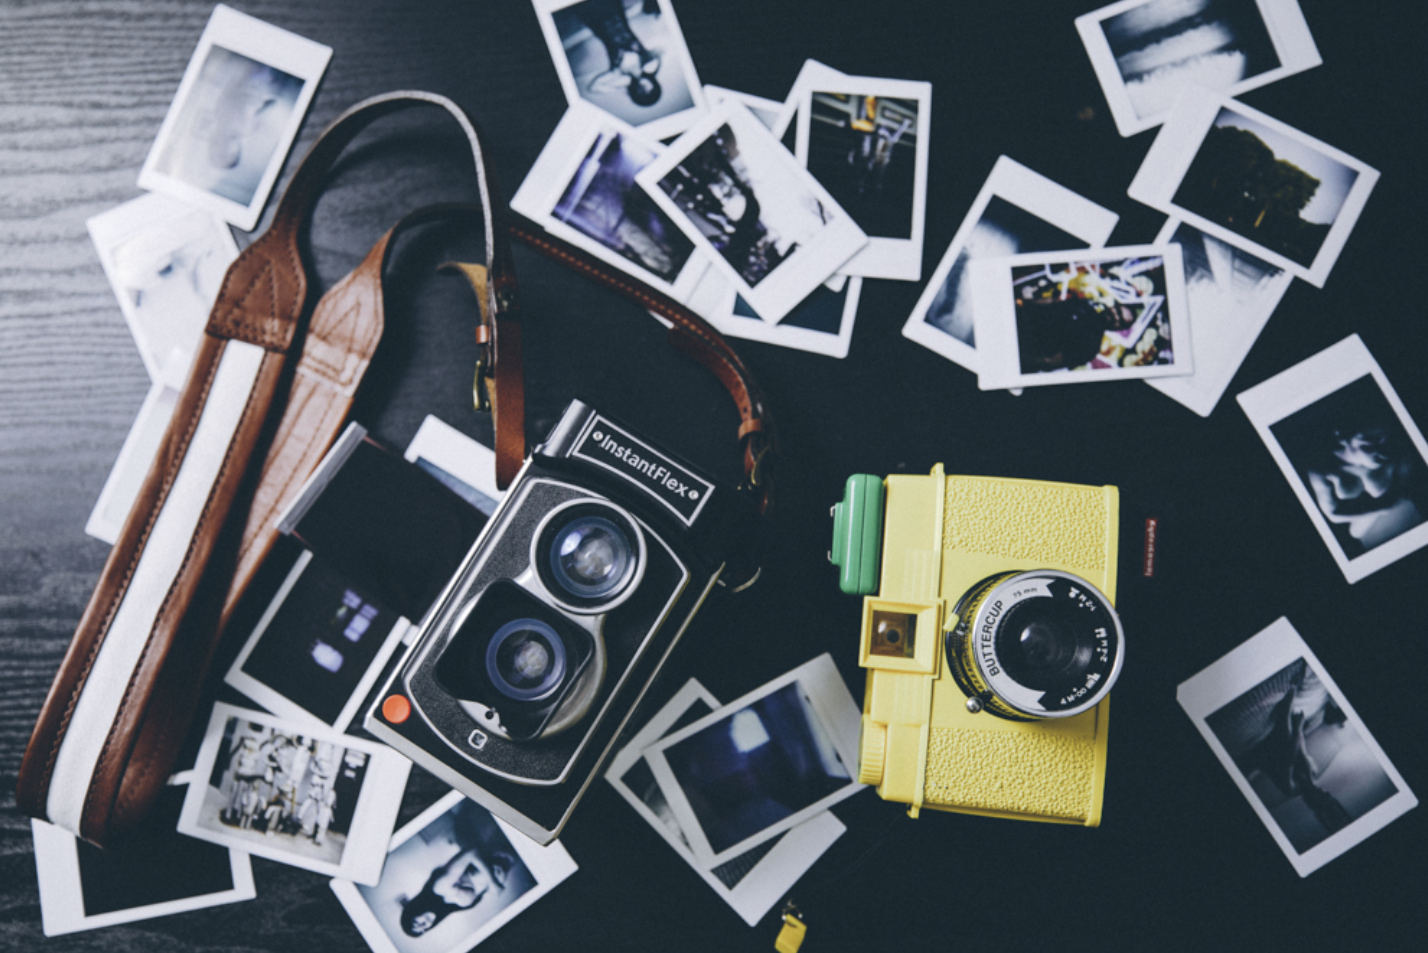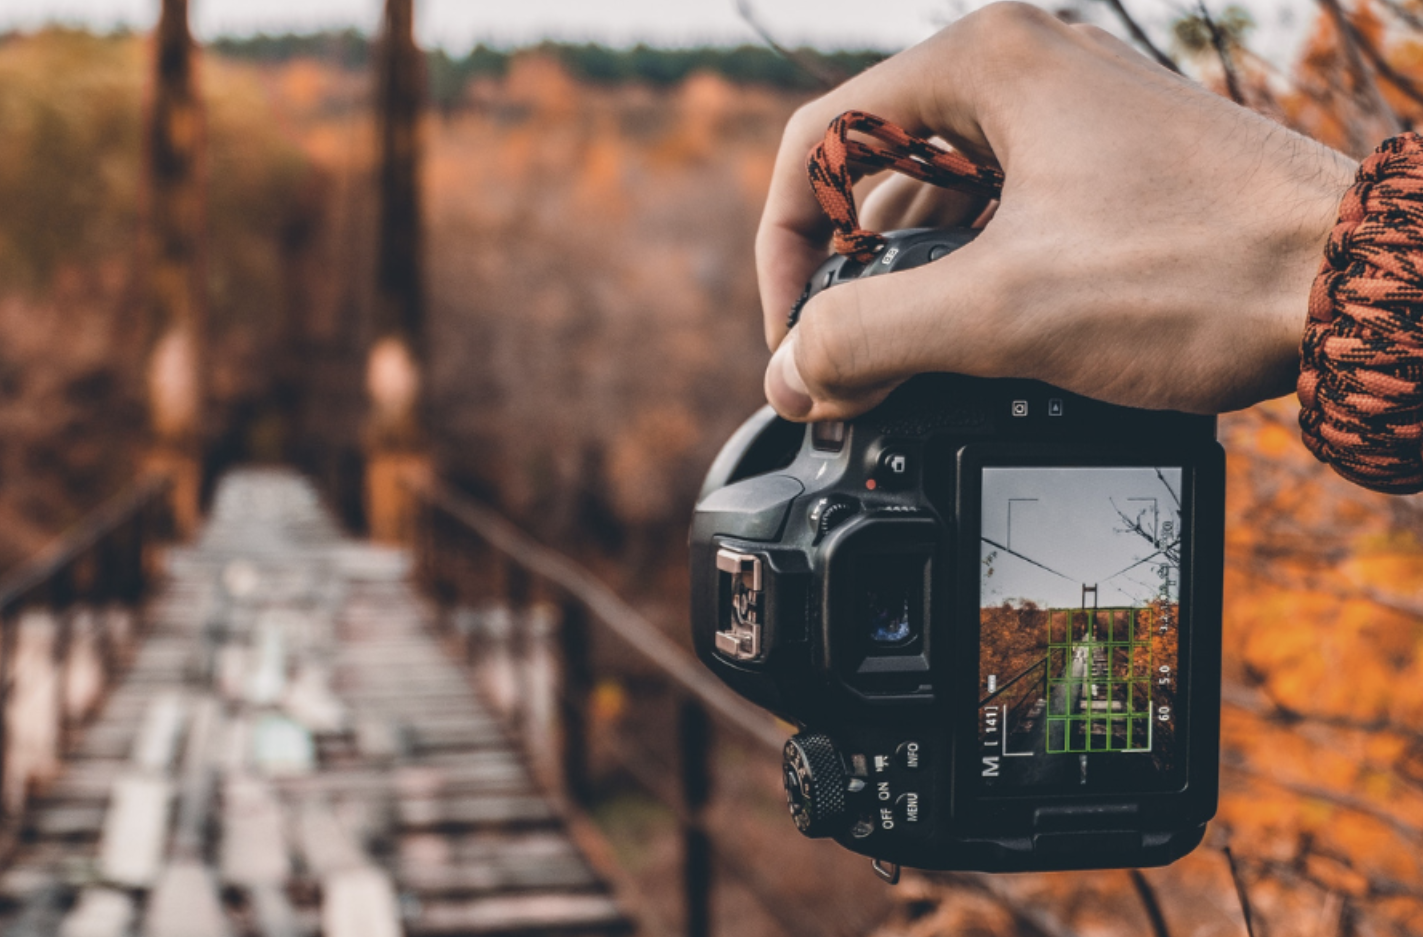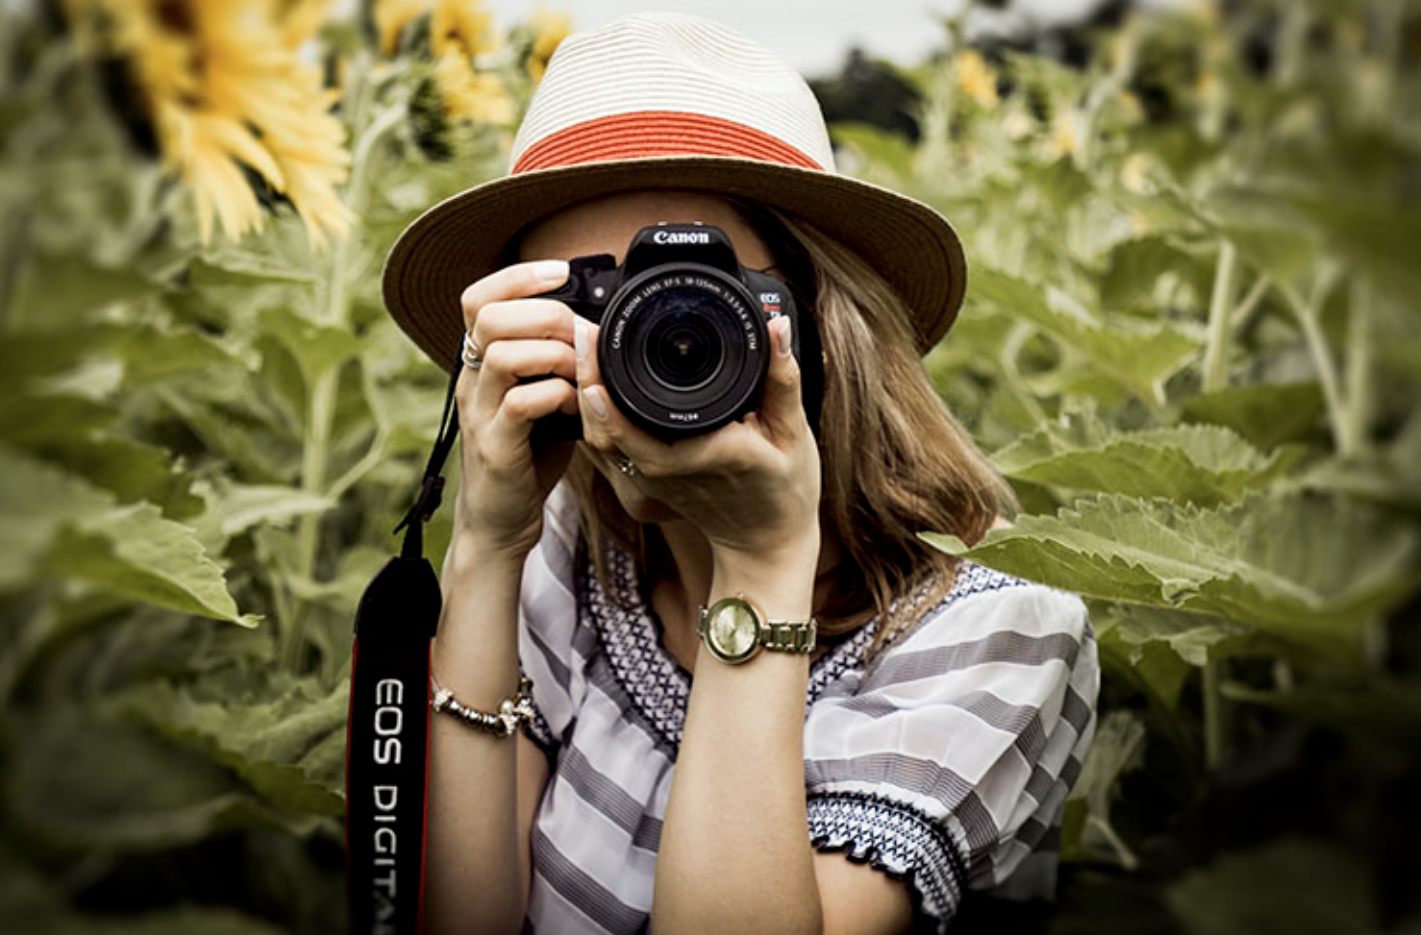
Photography is about much more than just capturing moments. In today’s digital age, photographers also need to manage their data, including storing, archiving, and organizing thousands of images. Over the years, I’ve developed a workflow that helps me stay organized and protect my work. Here’s how I handle my photos from the moment I finish shooting to when they’re safely stored and backed up.
Step 1: Transfer Files Immediately
One of the first rules I follow is never leaving the memory card in the camera for too long. Whether I’m shooting a casual gathering or a professional event like a wedding, I make sure to transfer the photos from the card to my computer right after the shoot. This helps minimize the risk of losing data due to card corruption. Plus, with memory cards becoming more affordable and storage sizes increasing, it’s easy to keep things separated by using multiple cards.
I also avoid piling up images on a single card from multiple events. Instead, I transfer the files each time to ensure better organization. Once the images are on my computer, I can begin working on them, but I only keep the most recent files on my laptop, which helps save space. When I first started, I used a Windows PC, but now I work on a Mac. However, my organizational approach has stayed the same.
Step 2: Organizing Files on My Computer
I keep a main directory on my laptop for all my photo shoots. Each shoot gets its own folder, labeled by the date and the event details. Inside the folder, I create three subfolders:
- RAW: This folder contains the original, unedited RAW files or unprocessed JPGs if I didn’t shoot in RAW.
- Edited: Here, I store the photos that have been post-processed and are ready for print or further use.
- Web: This folder holds resized and watermarked versions of the images, optimized for sharing online or through email and social media.
While there’s no heavy automation involved, this system has served me well for over a decade. It’s simple and reliable.
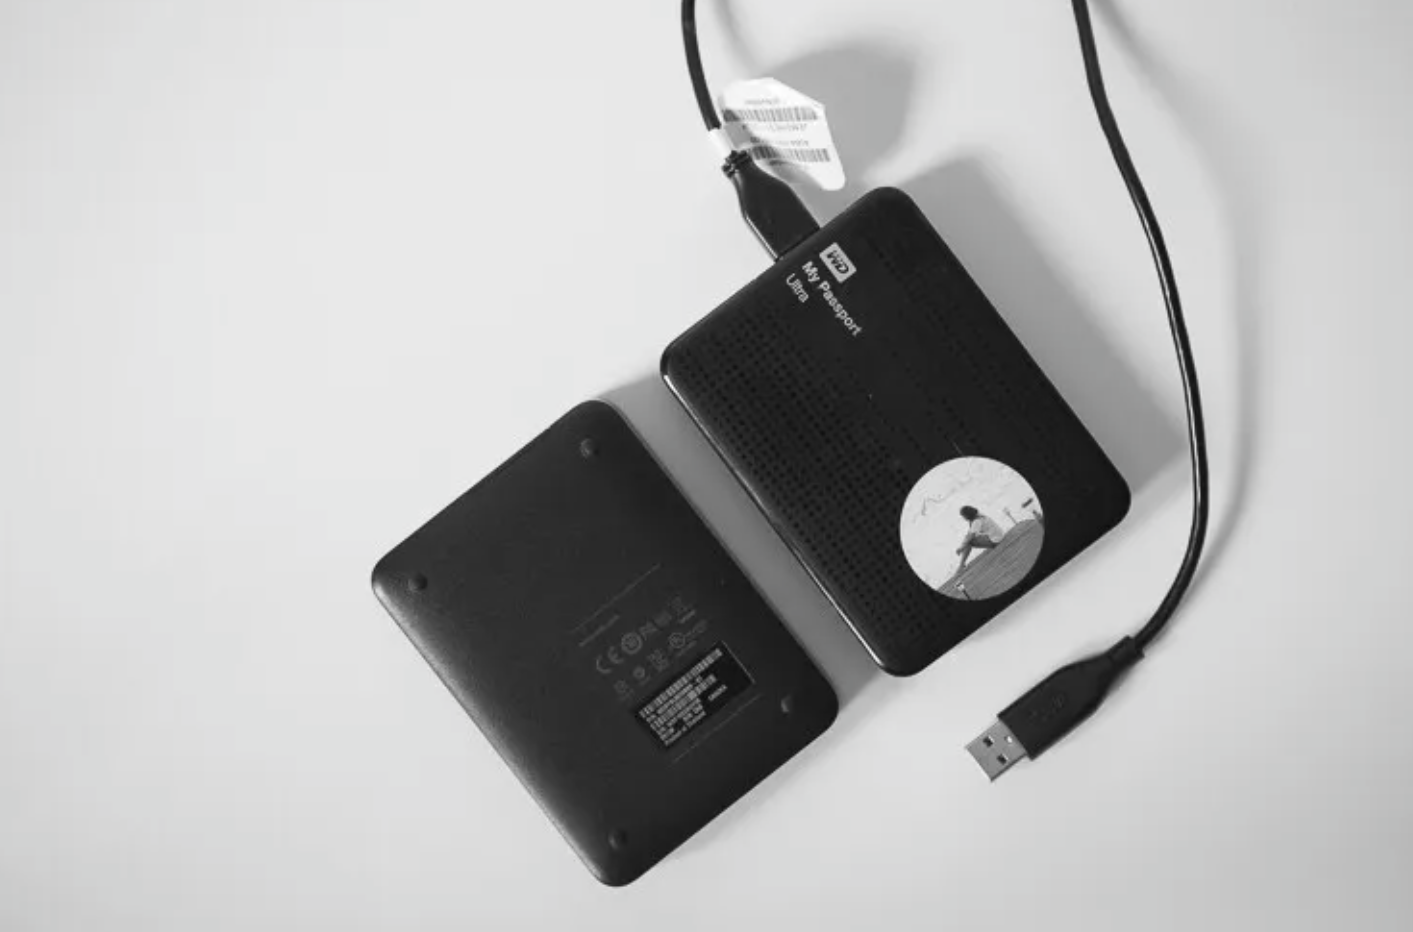
Step 3: Storing Files on External Hard Drives
Since I use a laptop as my primary computer, I prefer not to overload it with too many files. Instead, I rely on external hard drives to store the majority of my photo shoots. In the past, I used to burn each shoot to DVDs, but with file sizes growing, this process became inefficient. Sometimes I’d need multiple DVDs for a single shoot, and finding space to store them was a hassle.
Now, I replicate the same folder structure on my external hard drives that I use on my laptop. This makes it easier to find and retrieve files when I need them. Before deleting anything from my laptop, I double-check that the files are properly backed up on the external drive. I also open a few random files to ensure they’re intact and haven’t been corrupted during the transfer.
Step 4: Backup with Time Machine
To add an extra layer of security, I use Apple’s Time Machine to back up my files daily (sometimes twice a day). Time Machine is one of the best tools for peace of mind. It automatically saves all my data to a separate hard drive. If my laptop ever fails, gets damaged, or is stolen, I can rest assured that all my files are safe and accessible through the backup. Thankfully, I haven’t had to use it yet, but it’s always there, offering extra protection.
Final Thoughts
This workflow has been a cornerstone of my photography practice for the last decade, and while it may not be the most advanced system out there, it works well for me. I’m always open to new ideas and suggestions to improve my process, so if you have any tips or recommendations, feel free to share.