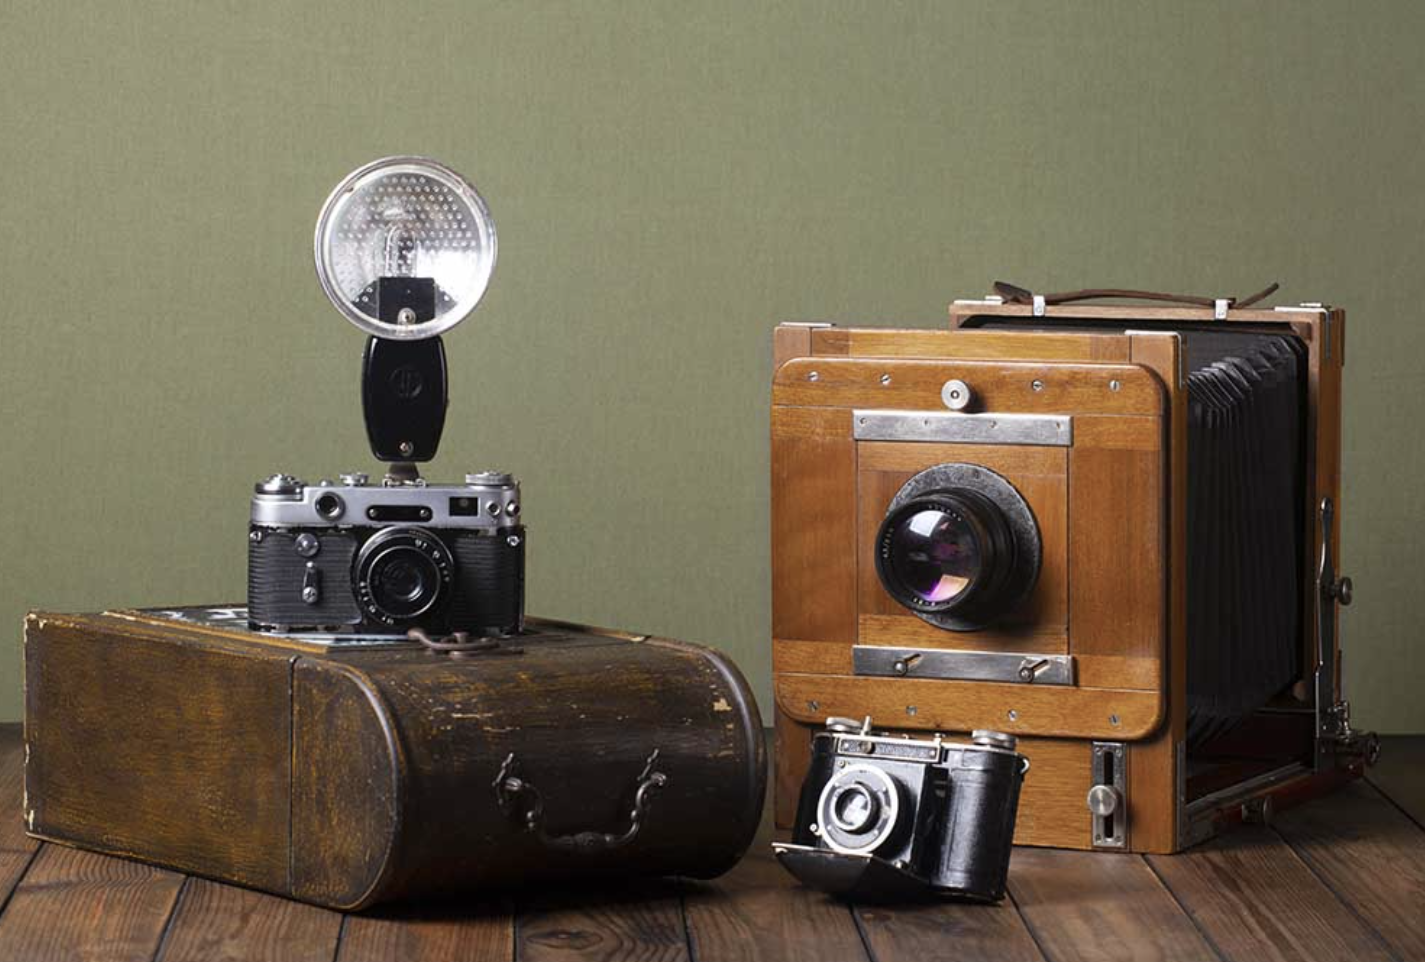
Flash photography can be a daunting subject for many new photographers, particularly due to their early experiences with built-in flashes on cameras. These small, internal flash units often produce harsh, direct light, resulting in unflattering images. However, the world of flash photography is much broader and more versatile than what those small built-in flashes suggest. By using the right tools and understanding key concepts, anyone can start creating stunning flash portraits and scenes.
In this guide, we’ll walk you through the essentials of using flash effectively, covering types of flash units, exposure techniques, and different ways to soften and enhance your flash lighting.
What Is Flash Photography?
Flash photography uses artificial light to illuminate a subject when natural light is insufficient, often in low-light settings or to fill in shadows caused by bright ambient light. A flash burst is incredibly bright but very brief, which can make it tricky to work with, especially for beginners. This intense light is highly directional and can cast harsh shadows. To make flash work in your favor, you need to adjust your exposure settings and understand how to control the flash’s power and direction.
Types of Flash Units
Flash units come in various types, each designed for specific needs. Here’s a rundown of the most common options you’ll encounter:
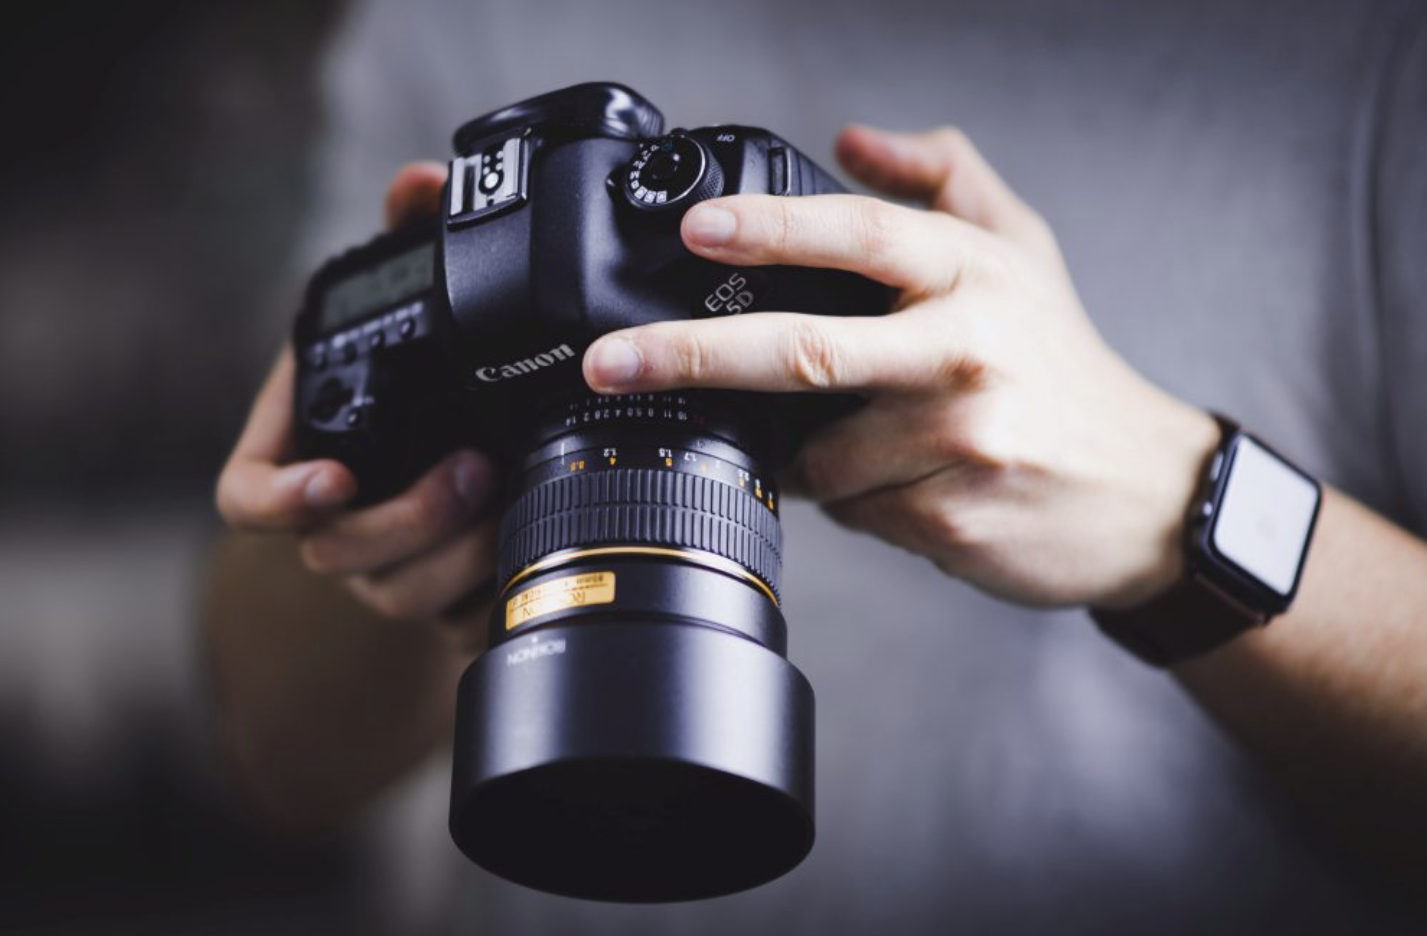
- Built-in Camera Flash: This is a small flash that pops up from the camera, found on lower-end DSLRs and mirrorless cameras. While convenient, it tends to produce harsh, direct light that can create unflattering shadows.
- External Flash (Flashgun): These are larger, detachable units that sit on the camera’s hot shoe. They can be used on the camera or off-camera and are often triggered wirelessly. These flash units give more control over light direction and intensity compared to built-in flashes.
- Studio Flash: Studio flashes are large, powerful units used in controlled studio environments. They are typically mounted on stands and often come with various accessories like softboxes to diffuse light. These flashes are more complex and usually require external power sources.
Understanding the Guide Number
A crucial concept in flash photography is the guide number, which measures the flash unit’s power. It indicates the maximum distance at which the flash can effectively illuminate a subject. The guide number is typically expressed as a distance at a specific ISO setting (e.g., “80 feet at ISO 100”). Keep in mind that the higher the guide number, the more powerful the flash is. This number is calculated under the assumption of a wide aperture, such as f/1.0, but you’ll likely use a more typical f-stop, like f/4, which reduces the effective distance.
Flash Modes: TTL, Dedicated, and Manual
Most modern flash units feature automatic exposure modes. Here are the main modes to understand:
- TTL (Through The Lens): In this mode, the flash communicates with the camera to determine the correct flash power. As the shutter button is pressed halfway, the camera evaluates the exposure and sends data to the flash. The flash then adjusts the light output accordingly, making it great for dynamic shooting conditions where lighting is constantly changing.
- Dedicated Flash Mode: This is an advanced version of TTL that reads more data from the camera, including focus distance and white balance. It allows for more precise flash adjustments and is ideal for handling varying lighting conditions automatically.
- Manual Mode: In this mode, the flash emits a fixed light output each time. This is perfect for static setups where the lighting and subject distance remain consistent. You can control the intensity by adjusting the flash’s power settings, often in fractions like 1/2, 1/4, or 1/8 power.
In-Camera Flash Modes
Many cameras have specific flash modes designed to help you achieve better results. These modes include:
- Red-eye Reduction: This mode flashes a series of small pre-flashes to close the subject’s iris, reducing the likelihood of red-eye.
- Fill Flash: This mode balances the light from the flash and ambient light, ensuring that the subject is well-lit without overexposing the background.
- Slow Sync: Used in low light, this mode allows for slow shutter speeds, keeping background details exposed while the flash freezes the subject.
- Rear Curtain Sync: The flash fires just before the shutter closes, capturing any motion blur behind the subject, creating a sense of movement.
Direct Flash vs. Bounce Flash
One of the biggest challenges with flash photography is managing the harsh, direct light that built-in flashes typically produce. Direct flash light can create unflattering shadows and make the image appear flat. A better approach is using bounce flash, where the flash head is directed at nearby surfaces like walls or ceilings to diffuse the light. This produces softer, more flattering lighting that mimics natural light.
When bouncing light, consider the distance from the bounce surface, as this will affect the intensity of the light. Also, remember that using bounce flash requires more power from the flash and can drain batteries faster.
Fill-In Flash: Balancing Light
Fill-in flash is particularly useful when the subject is partially shadowed, such as on a bright, sunny day. The flash helps fill in these shadows, ensuring that your subject is well-lit without overexposing the background. Using TTL or dedicated flash modes for fill-in flash will automatically adjust for the correct exposure, which is especially helpful in rapidly changing lighting situations.
Using Studio Flash
Studio flashes are the workhorse for controlled lighting setups, particularly in portrait or product photography. In a studio, you can use multiple flashes, each serving a different purpose, such as one for the main light, another for fill light, and one for the background. Most studio setups use manual exposure, allowing you to adjust the flash intensity based on your desired results. These systems often require synchronization, either through cables or wireless triggers.
Flash Synchronization: Why It Matters
Flash synchronization refers to the timing of the flash with the camera’s shutter. Since a flash is so brief (often around 1/10,000 of a second), it needs to be synchronized with the camera’s shutter speed. The maximum shutter speed that can be used for proper flash synchronization is known as the sync speed. Going beyond this speed may result in partial exposures, where part of the image appears underexposed due to the shutter closing before the flash fully illuminates the scene.
White Balance and Flash
Flash light is typically quite cool, with a color temperature around 10,000K, which can give your images a blueish tint. To counteract this, most modern cameras allow you to set the white balance for flash photography, either automatically or manually. If you’re using a studio setup with various colored backdrops or people wearing different clothes, you may need to fine-tune the white balance to avoid color discrepancies in your images.
Flash for Smartphones
Smartphones today come equipped with built-in LED flash systems. While these are more effective than older flash units, they still have limitations. Smartphone flashes are low-powered and can produce harsh light. For more refined lighting, consider using continuous LED lights or other external lighting solutions designed for smartphones.
Third-Party Flashguns
When purchasing a flashgun, you might be tempted to go with the manufacturer’s model, but third-party options can often provide similar performance at a lower price. When buying third-party flash units, ensure they are compatible with your camera system. Many third-party brands, like Godox or Neewer, offer excellent flashguns at a fraction of the price of branded units.
Conclusion
Flash photography is a versatile and rewarding field that requires understanding different flash types, settings, and techniques. By experimenting with bounce flash, fill flash, and manual modes, you can significantly improve your lighting and create more dynamic and flattering photographs. As you gain experience with different flash setups and learn how to synchronize your flash with the camera, you’ll be well on your way to mastering flash photography and capturing images that stand out.