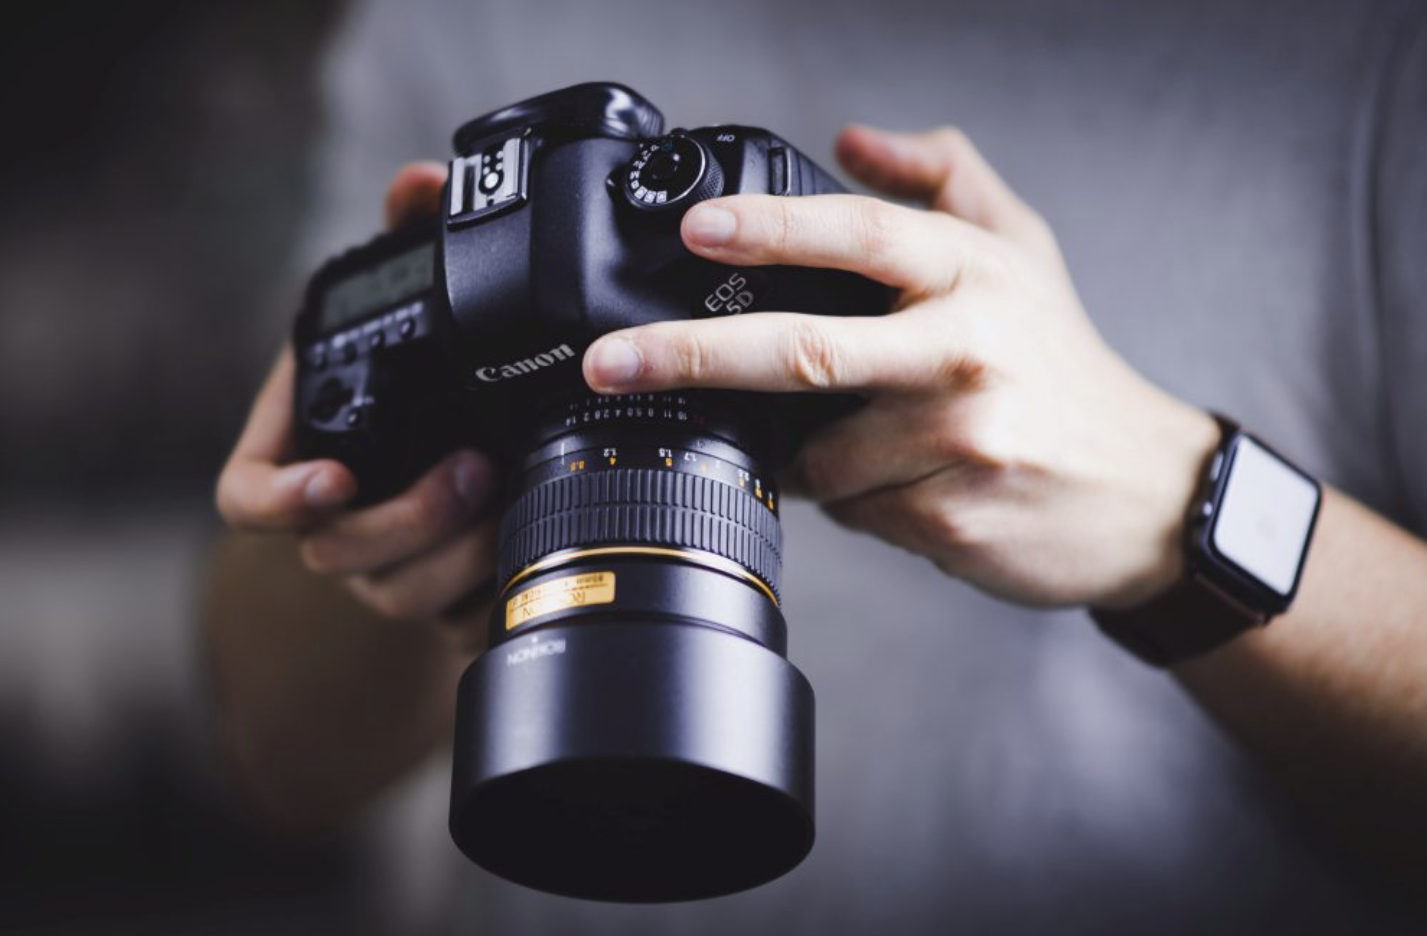
If you’re just starting out in photography, you’re likely overwhelmed by the array of buttons and dials on your camera. Like many, you may have been drawn to your first camera by the sheer number of controls it offers, eager to explore what each one does. However, once you get it home, it can feel intimidating to figure out where to start.
Don’t worry! Mastering your camera’s controls is entirely possible, and once you grasp the basics, you’ll feel much more confident. Here are seven crucial camera controls that every beginner should learn to get the most out of their gear.
1. PASM Mode: The Key to Exposure Control
The PASM dial is perhaps the most important control to learn. PASM stands for Program, Aperture Priority, Shutter Priority, and Manual—four primary exposure modes that give you varying levels of control over your camera.
- Program Mode (P) is great for general use, offering a balance between convenience and exposure control.
- Aperture Priority (A or Av) lets you control the depth of field and bokeh effect by adjusting the aperture.
- Shutter Priority (S or Tv) is perfect for capturing motion, letting you set the shutter speed while the camera adjusts the aperture.
- Manual Mode (M) offers full control over both shutter speed and aperture, giving you the most creative freedom.
Mastering these modes will help you tailor your photos to your creative vision.
2. Exposure Compensation: Fine-Tuning Your Exposure
Exposure compensation is a fantastic tool that allows you to adjust the exposure in any auto mode without needing to switch to manual settings. This feature allows you to make images lighter or darker by adding or subtracting exposure, making it easier to handle situations where the camera’s auto settings might not give you the result you want.
For example, in Shutter Priority, you can adjust the exposure by changing the aperture, and in Aperture Priority, exposure compensation adjusts the shutter speed. This lets you fine-tune your photos without much hassle.
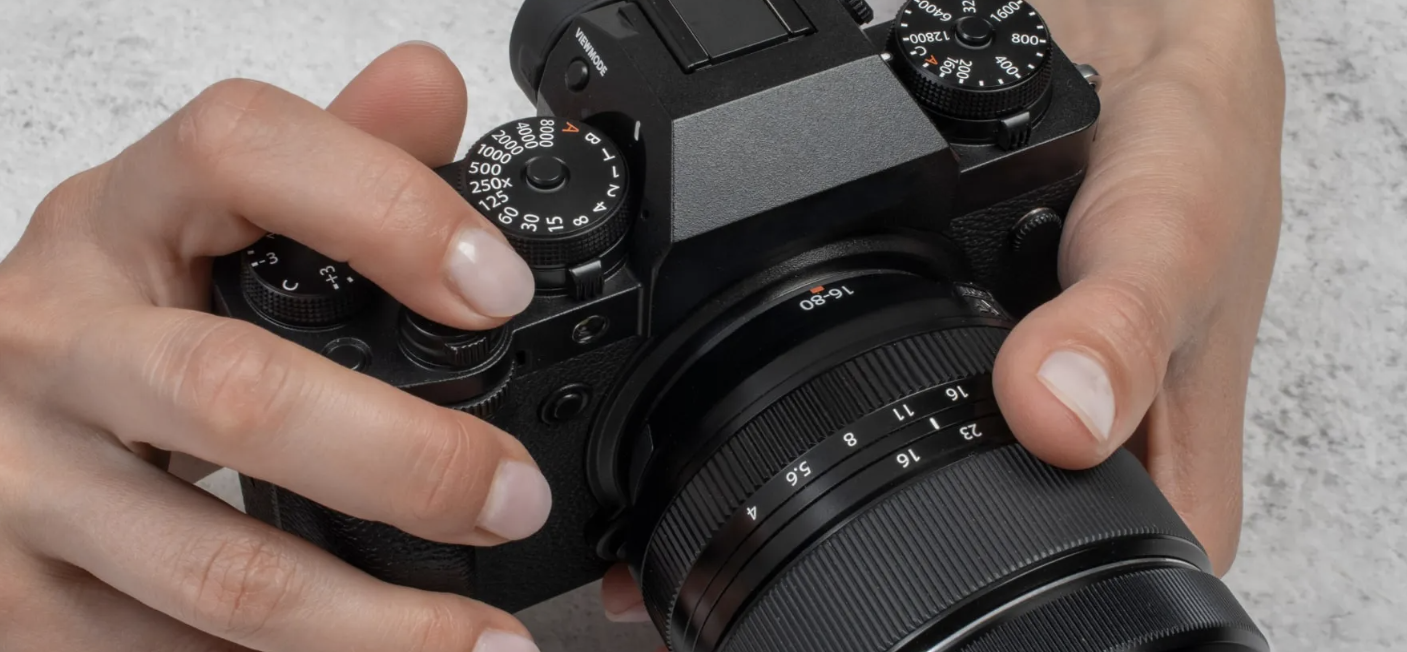
3. Shutter Speed: Capturing Motion
Shutter speed is one of the critical components of the exposure triangle and is controlled either by a dial or rotating switch on your camera. It dictates how long the camera’s shutter stays open and directly affects the exposure of your photo.
- Faster shutter speeds (e.g., 1/1000) freeze action and let in less light.
- Slower shutter speeds (e.g., 1/30) allow more light and create motion blur, which can be used creatively to convey movement.
Learning how shutter speed impacts your photos will help you control how motion is captured and add dynamic effects to your shots.
4. Aperture: Controlling Depth of Field
Aperture refers to the size of the opening inside your lens that controls how much light enters the camera. The aperture setting also affects the depth of field, which is how much of the scene appears in focus.
- Lower f/numbers (like f/1.8) create a shallow depth of field, blurring the background and emphasizing the subject.
- Higher f/numbers (like f/16) provide a deeper depth of field, keeping both the foreground and background in focus.
Aperture is essential for managing both the exposure and the composition of your shots.
5. White Balance: Correcting Color Temperature
Since your camera’s sensor doesn’t perceive light in the same way human eyes do, white balance is crucial for capturing accurate colors. Different light sources (e.g., sunlight, tungsten, or fluorescent) produce different color temperatures that can make your photos look too warm or too cool.
Most cameras come with presets like “Cloudy,” “Sunny,” “Tungsten,” and “Fluorescent,” but you can also manually set white balance using the Kelvin scale for more precision. For mixed lighting situations, using a white card to set the white balance can be very effective.
6. Focus Mode: Ensuring Sharp Focus
Your camera’s focus mode selector, typically located on the front of the camera, allows you to adjust how the camera focuses on subjects.
- Single-shot (S) mode is ideal for static subjects, where the camera locks focus once you press the shutter button halfway.
- Continuous (C) mode is perfect for moving subjects, as the camera will continue to adjust focus as long as the shutter button is half-pressed.
- Manual focus (M) gives you full control over focusing, useful for challenging situations like low light or macro photography.
Understanding focus modes is crucial for ensuring that your subjects are sharp and properly focused.
7. ISO: Adjusting Sensitivity to Light
ISO determines the sensitivity of your camera’s sensor to light. The higher the ISO, the more sensitive the sensor becomes, but this can also introduce digital noise (grain) into your photos.
- Lower ISO settings (e.g., 100) are ideal for bright light and result in cleaner images.
- Higher ISO settings (e.g., 3200 or higher) are useful in low light but may cause more noise.
For the best results, try to keep your ISO as low as possible and adjust shutter speed and aperture to achieve the correct exposure.
Conclusion
Getting comfortable with these seven essential camera controls will set you on the right path toward becoming a better photographer. Understanding how each of these elements works together will allow you to have more creative control over your images and help you develop your unique photographic style. Remember, practice is key—so take the time to experiment and learn how each control affects your photos.