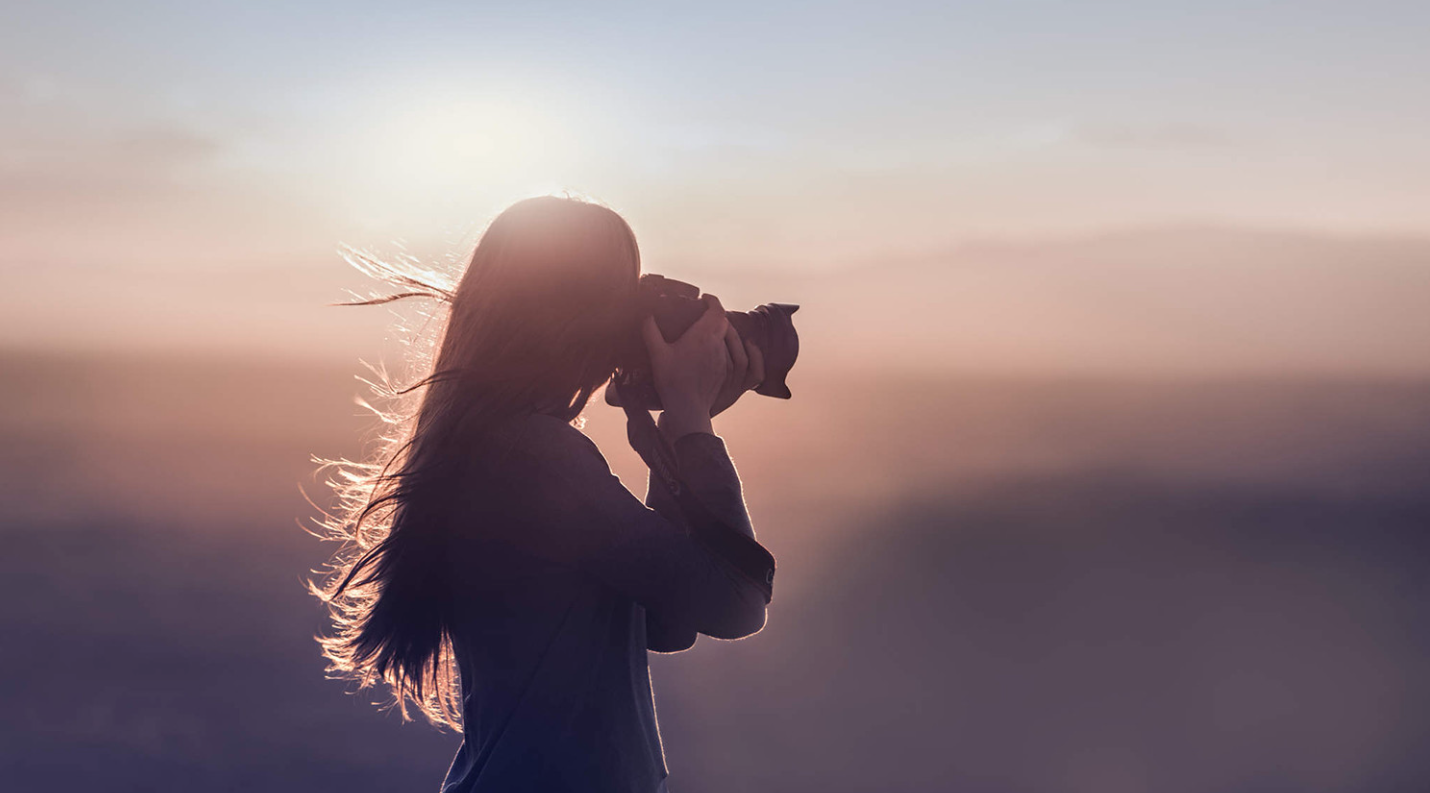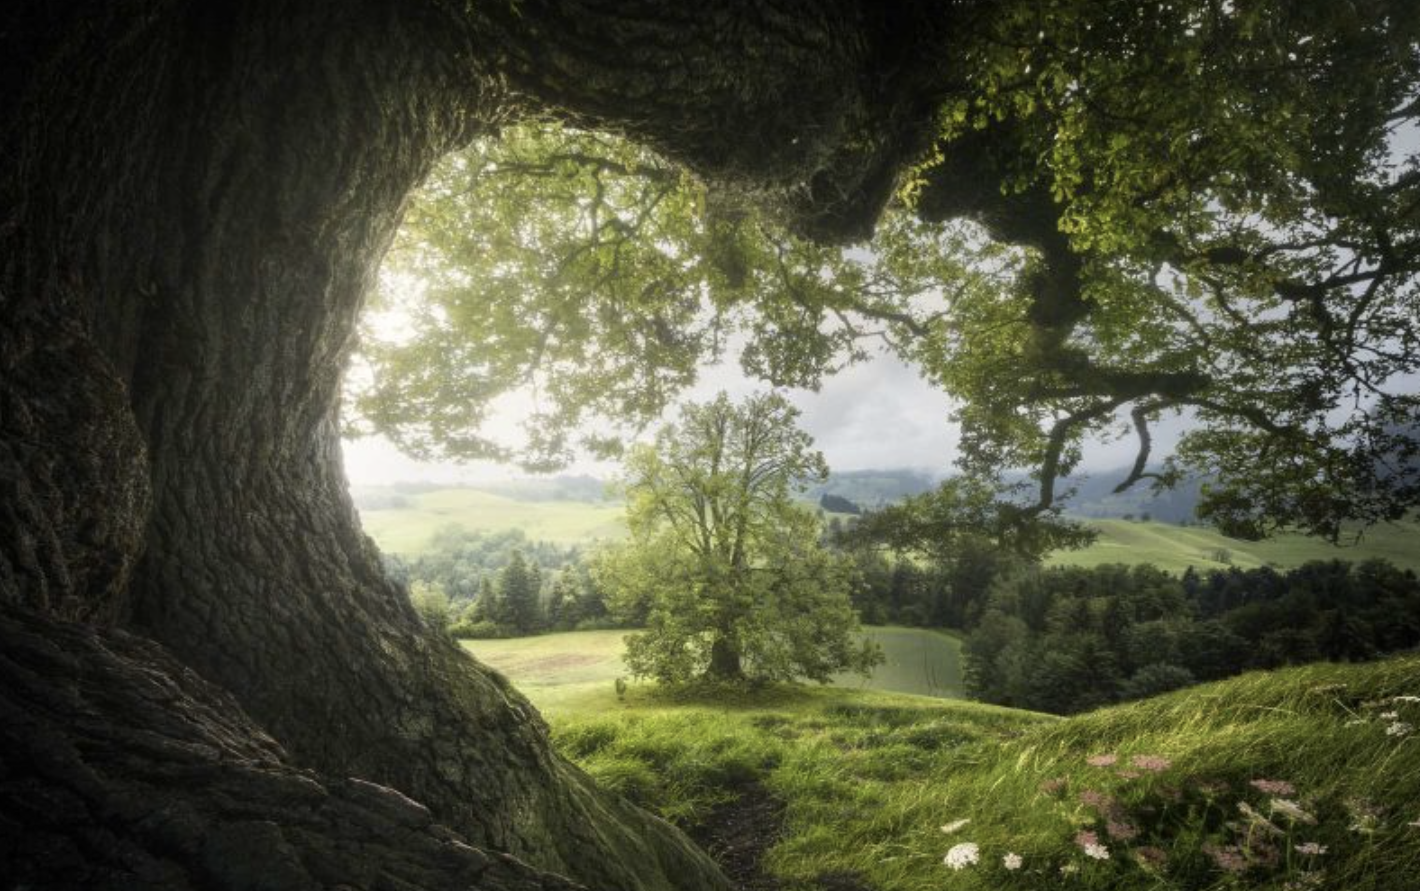
Night photography holds a certain allure, doesn’t it? There’s something truly magical about capturing images in the quiet stillness of the night. It often conveys a sense of peace and tranquility, offering a perspective we rarely encounter during the day. But night photography goes beyond simply snapping photos of illuminated buildings. It opens up a world of opportunities, including shooting light trails, starry skies, moonlit landscapes, and more.
While capturing great night shots takes some practice and skill, learning the right techniques will help you master the art. In this post, we’ll walk you through the essential tools and methods to elevate your night photography game.
What is Night Photography?
Night photography can be broken down into two key phases: the blue hour, which occurs just after sunset, and the full darkness that follows. During the blue hour, the sky takes on deep blue and purple tones, offering a unique atmosphere. Once the last traces of daylight vanish, the scene shifts into full nighttime, with the sky turning an inky black.
There are tools like Photopills and The Photographer’s Ephemeris that can help you plan your night shoots by providing accurate times for sunset, blue hour, and moon phases anywhere in the world. During the blue hour, you’ll rely on the natural light left in the sky. But once night falls, you’ll likely work with artificial city lights, starlight, or moonlight—light sources that require longer exposure times to properly register on your sensor.
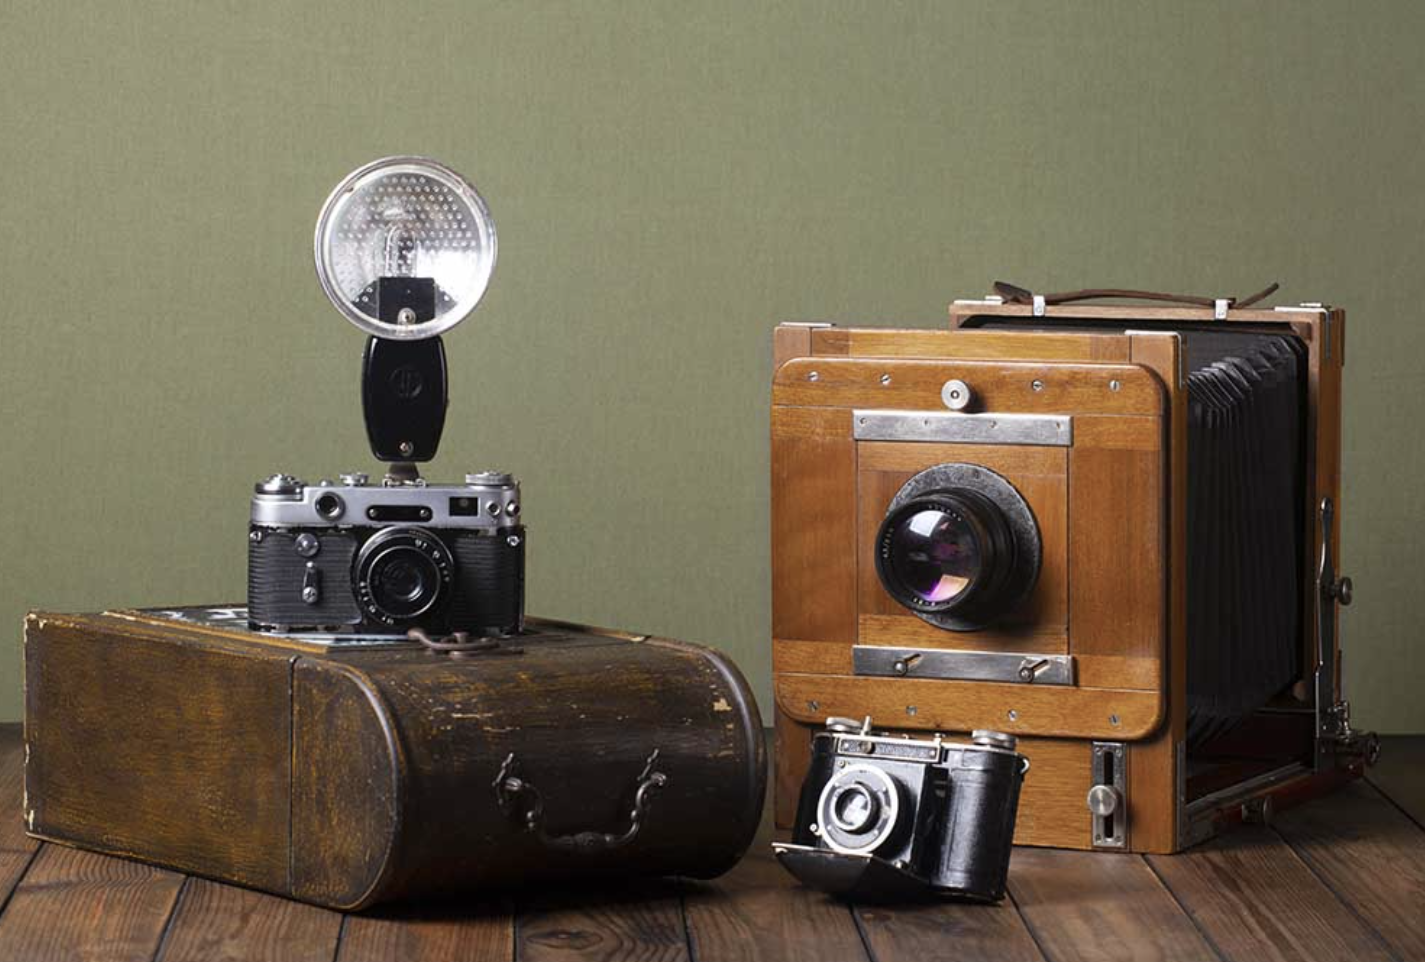
Essential Gear for Night Photography
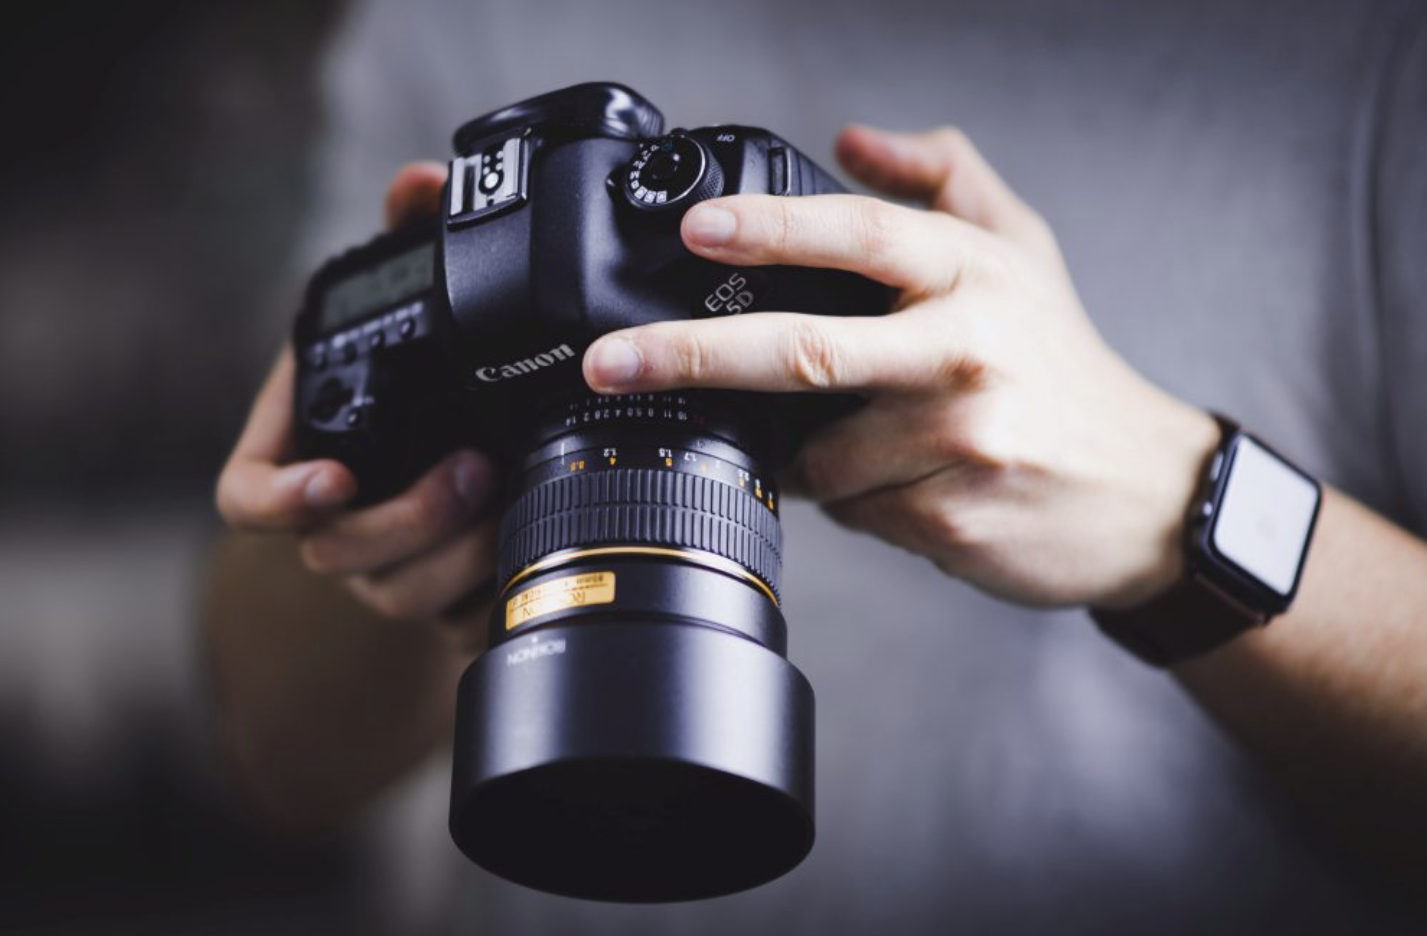
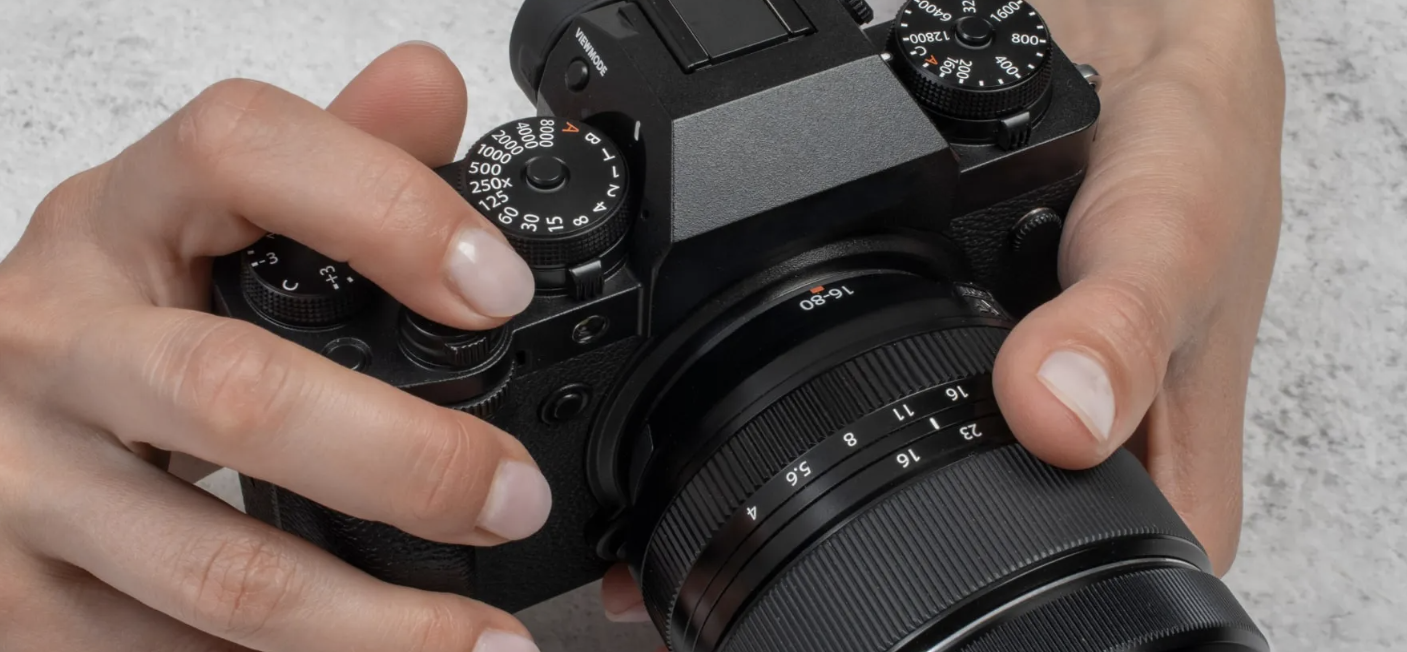
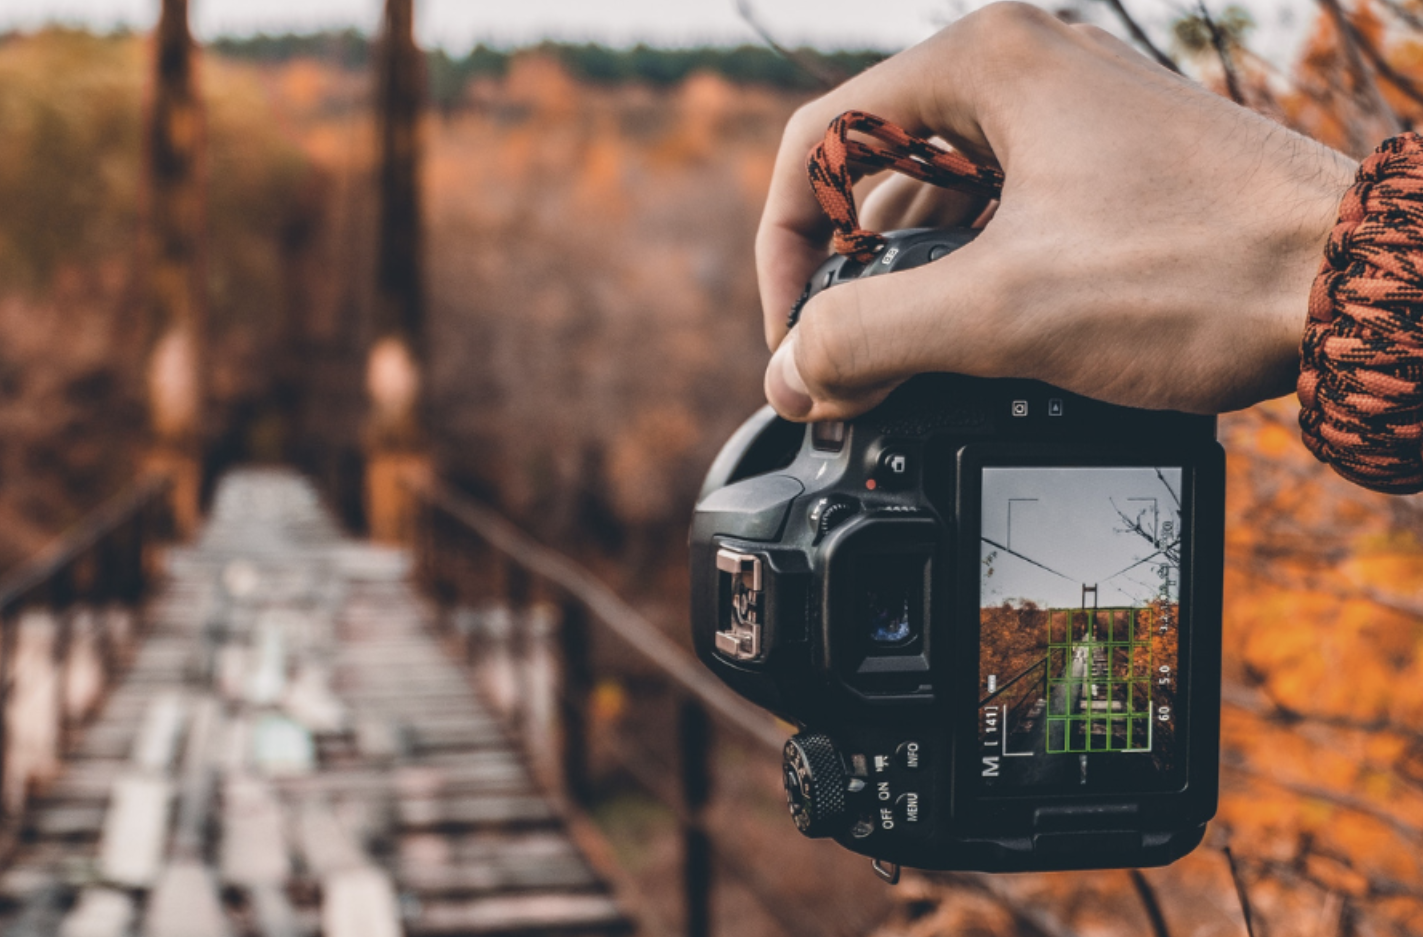
For night photography, you don’t need overly specialized equipment, but certain tools will make a significant difference. A modern DSLR or mirrorless camera with manual settings is ideal. Make sure your camera allows you to use ultra-slow shutter speeds and has the option to turn off long exposure noise reduction. A full-frame sensor camera is great for shooting at higher ISOs, but APS-C and Micro Four Thirds cameras can still work well at lower ISO levels.
Lenses with wide apertures (f/2.8 or faster) are preferred since they allow more light to hit the sensor. However, if you’re working with slower lenses (f/4 or f/5.6), it won’t be a huge issue for man-made lights. Keep in mind that slower apertures, like f/5.6, will require longer exposure times, so your shutter speed might go from 4 minutes to 8 minutes, which can impact the final result.
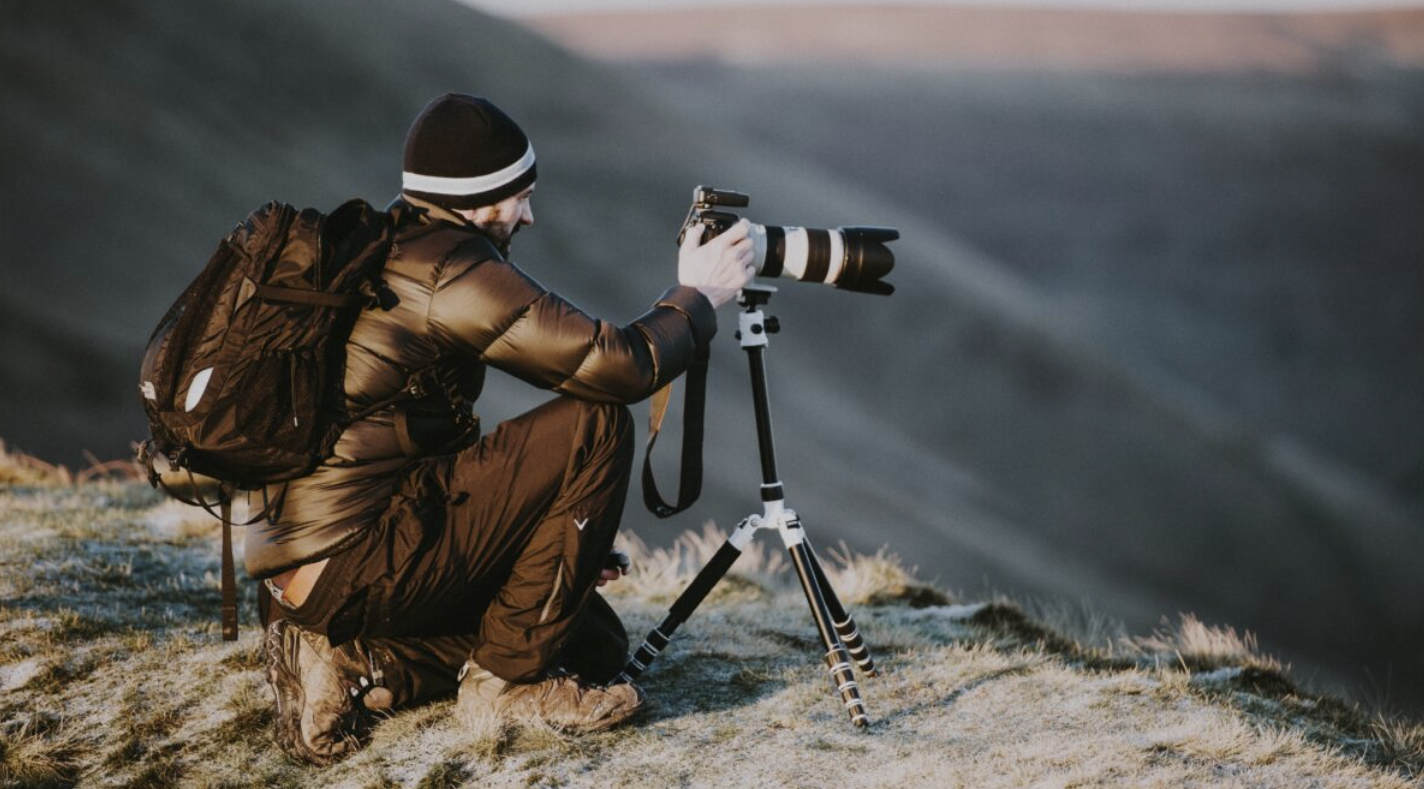
A sturdy tripod is non-negotiable. You’ll need something solid to keep the camera steady during long exposures. Carbon fiber tripods are lightweight and ideal for travel, but aluminum options are also good, just a bit heavier. A quality ball head will allow you to quickly adjust your camera’s position and lock it into place.
Since long exposures are common at night, a remote shutter release is essential to prevent any camera shake when pressing the shutter button. This can be a wired or wireless controller, or even a cable release. Modern controllers make it easier to get long exposures, even on entry-level cameras. Additionally, always carry spare batteries, as they tend to deplete faster with extended exposure times.
Night Photography Camera Settings
Getting the right exposure at night requires understanding a few key settings. While each type of night shot will have its own unique needs, here are some general guidelines to get you started:
- ISO: Keep your ISO as low as possible, usually between 100 and 200. Lower ISO settings help minimize noise, especially in the shadowy areas of your shots.
- Aperture: Your aperture settings will depend on the effect you want. A wider aperture (f/2.8 or f/4) will let in more light and create a shallow depth of field, which can be great for portraits or certain types of light. A smaller aperture (f/8 or higher) will give you a deeper depth of field and is better for shots with a lot of detail, like cityscapes or star trails.
- Shutter Speed: Expect to use longer exposure times at night. This could be anywhere from 1 second to several minutes, depending on the scene. If you’re photographing moving objects, you’ll need to adjust the speed to freeze the motion. Otherwise, longer exposures will capture more light and details.
- Shoot in RAW: Since night photography often involves multiple light sources, shooting in RAW gives you better control over color and exposure in post-processing.
- Exposure Metering: Your camera’s metering system may struggle in low light, so consider using spot metering for areas with bright lights or matrix metering to account for the entire scene. Both modes will help you avoid overexposure or underexposure in high-contrast scenes.
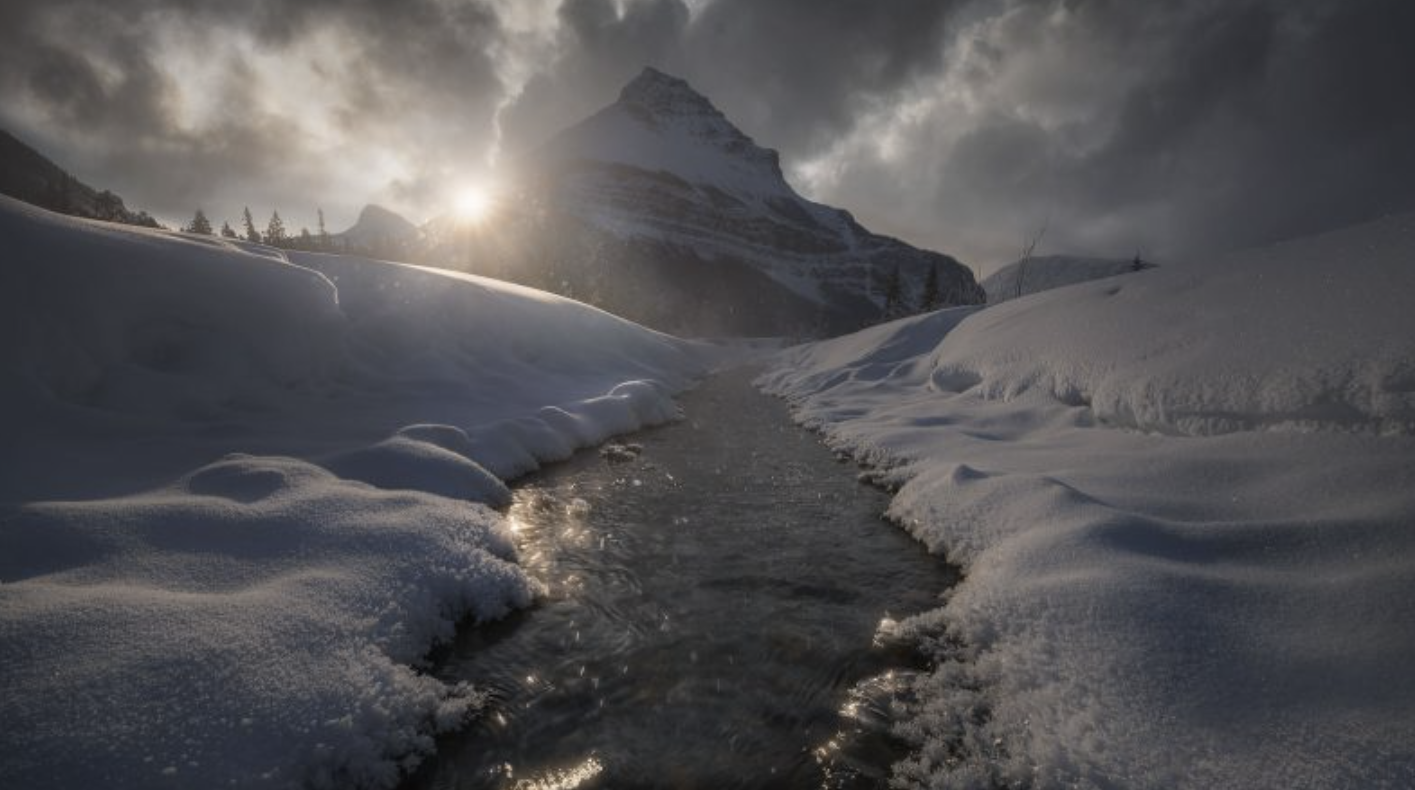
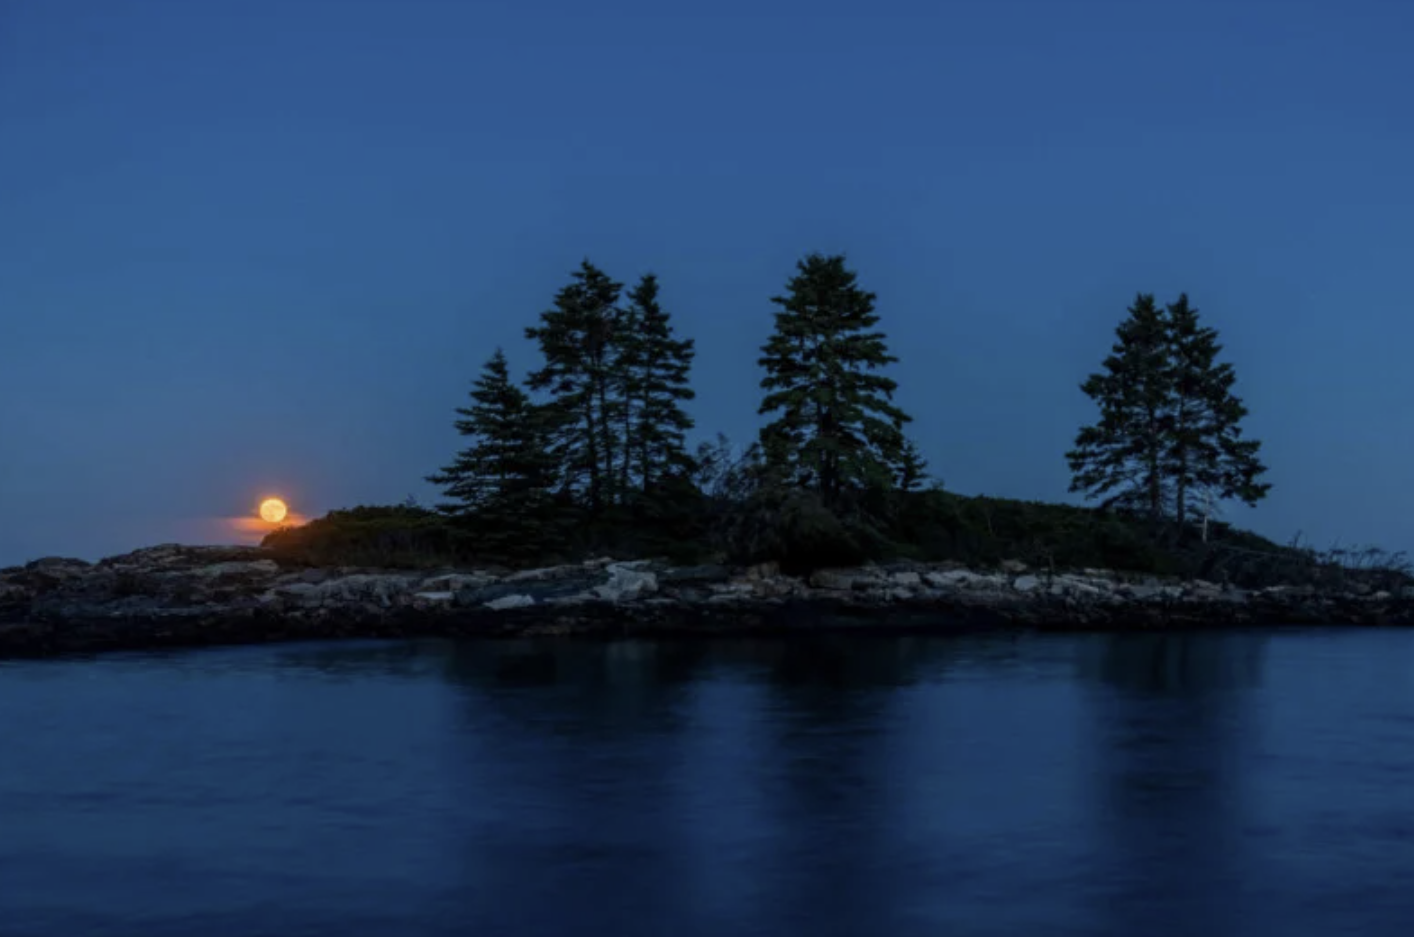
Night Landscape Photography
Nighttime landscapes can be just as stunning as their daytime counterparts. To capture landscapes at night, you’ll need a clear view of the moon and stars, preferably in an area free from light pollution. This means planning your shoot in advance and scouting locations during the day.
Once you’re ready, set up your tripod and camera, focusing on your composition. Since you’ll be using long exposures, ensure your camera is stable with a remote shutter release to avoid shake. The moon will likely be your primary light source, but you’ll need to account for its movement. If you include the moon in your shot, long exposures will cause it to appear as a blur. To avoid this, either exclude the moon from the frame or use a higher ISO to speed up the exposure time.
For night landscapes, wide-angle lenses work best, allowing you to capture the full scene. If you’re shooting details from a distance, a telephoto lens can help, but remember that longer lenses are more prone to camera shake, so ensure your tripod is solid.
Architectural Photography at Night
Nighttime architecture shots are a classic genre, and cities provide plenty of opportunities. To photograph architecture at night, use wide-angle lenses for sweeping views or telephoto lenses to focus on details. The key challenge with city lights is the high contrast—bright lights and deep shadows. To handle this, use multiple exposures and combine them in post-processing for a well-balanced image.
Light painting can also be an effective technique in architectural night photography. By using a flashlight or another light source, you can illuminate parts of the building during a long exposure. This technique is ideal for capturing details and adding a creative touch to your shots.
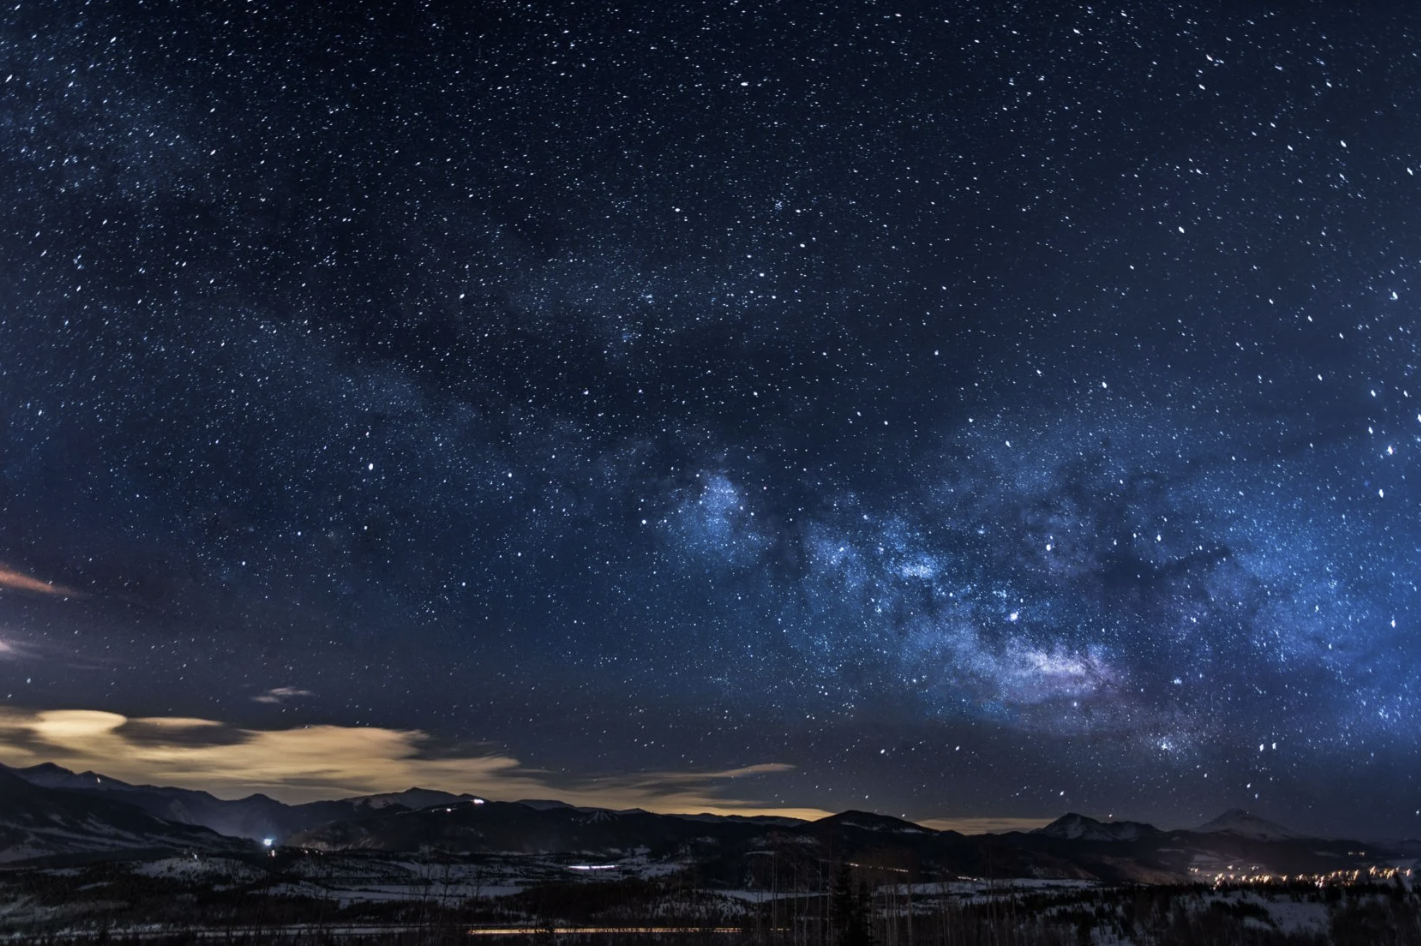
Photographing the Night Sky
Capturing the Milky Way has become a popular trend in night photography, thanks to advancements in sensor technology and post-processing tools. For this type of photography, you’ll need a fast, wide-angle lens and the ability to manually focus. Shooting under a moonless sky will provide the best results, and apps like DarkSky can help you find ideal shooting locations free from light pollution.
To capture the Milky Way, set your ISO to around 3200 and use a wide aperture. The 500 rule is a useful guideline for determining how long your exposure can be before the stars begin to streak. For example, using a 24mm lens on a full-frame camera, divide 500 by 24 to get a maximum exposure of 20 seconds.
Capturing Star Trails
Star trail photography involves capturing the movement of stars over long exposures. To achieve this, use long exposures (several minutes or more) and stack multiple images in post-processing. The stars will revolve around a single point in the sky—Polaris in the northern hemisphere, or Sigma Octantis in the southern hemisphere. Apps can help you pinpoint these stars and track their movement.
Conclusion
Night photography offers incredible opportunities, but it requires patience and the right techniques. By mastering camera settings, understanding light sources, and using the right gear, you can capture stunning night shots, whether it’s cityscapes, landscapes, or the stars above. The skills you develop while shooting at night will undoubtedly make you a more versatile photographer, ready to take on any lighting challenge.