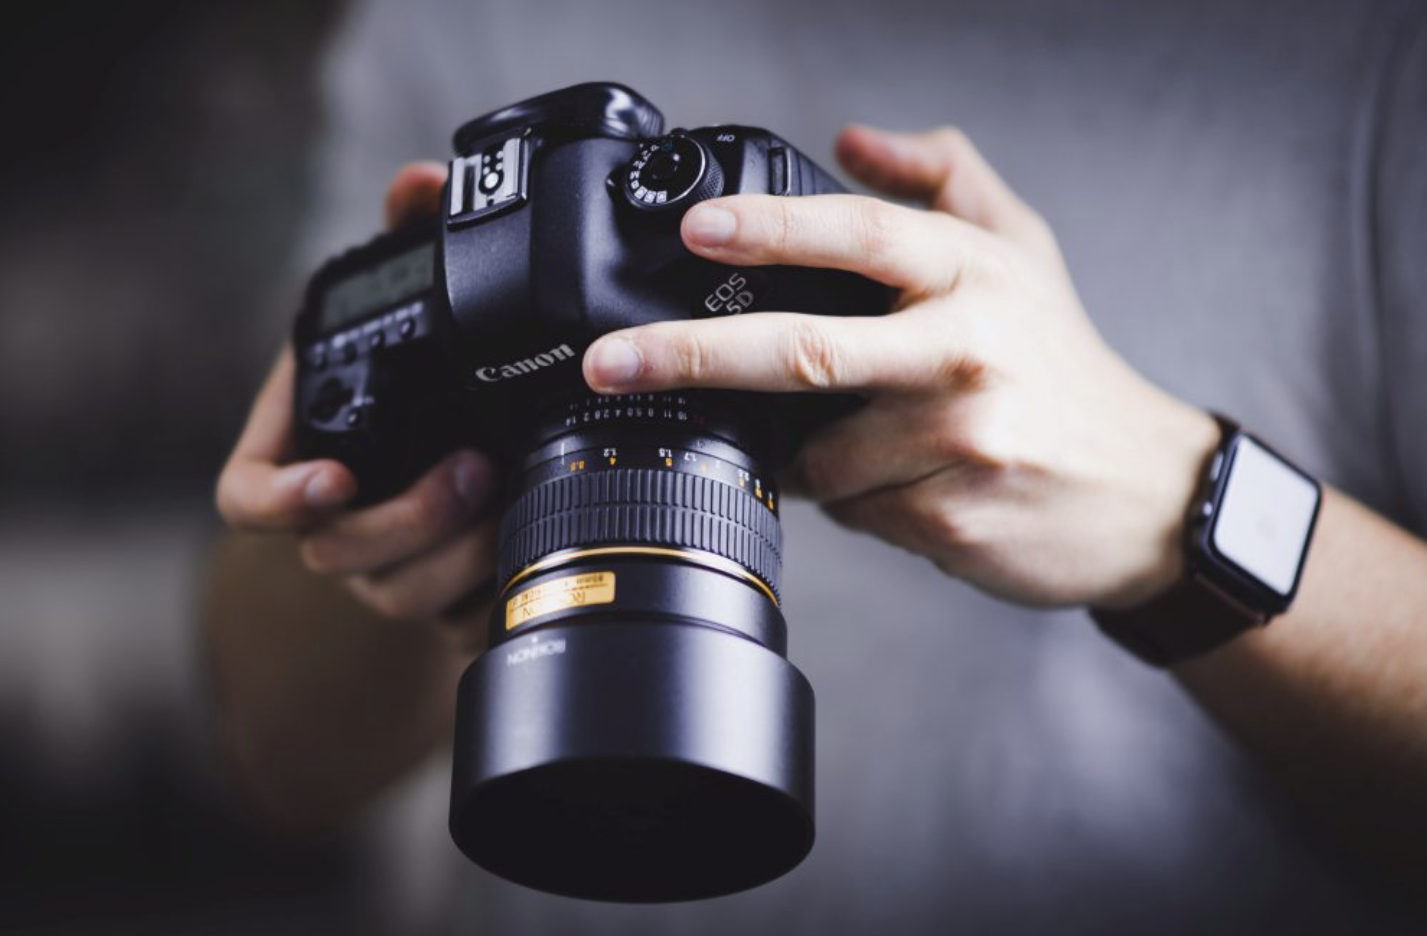
Photography is an art form that combines a camera, light, and composition to tell powerful stories and preserve memories. Whether you’re pursuing photography as a hobby or aiming to become a professional, the process can feel overwhelming when you’re just starting out. With all the buttons and settings on your camera, it might seem like there’s too much to learn. But don’t worry – this guide will break down the basics to help you understand photography’s key elements without feeling flooded with information.
Getting Started with Photography
If you’re new to photography, it’s essential to understand the fundamental aspects of your camera. Once you grasp these basic concepts, you’ll be able to take better photos and start experimenting creatively. Here’s a breakdown of what you need to know:
1. Camera Features and Functions
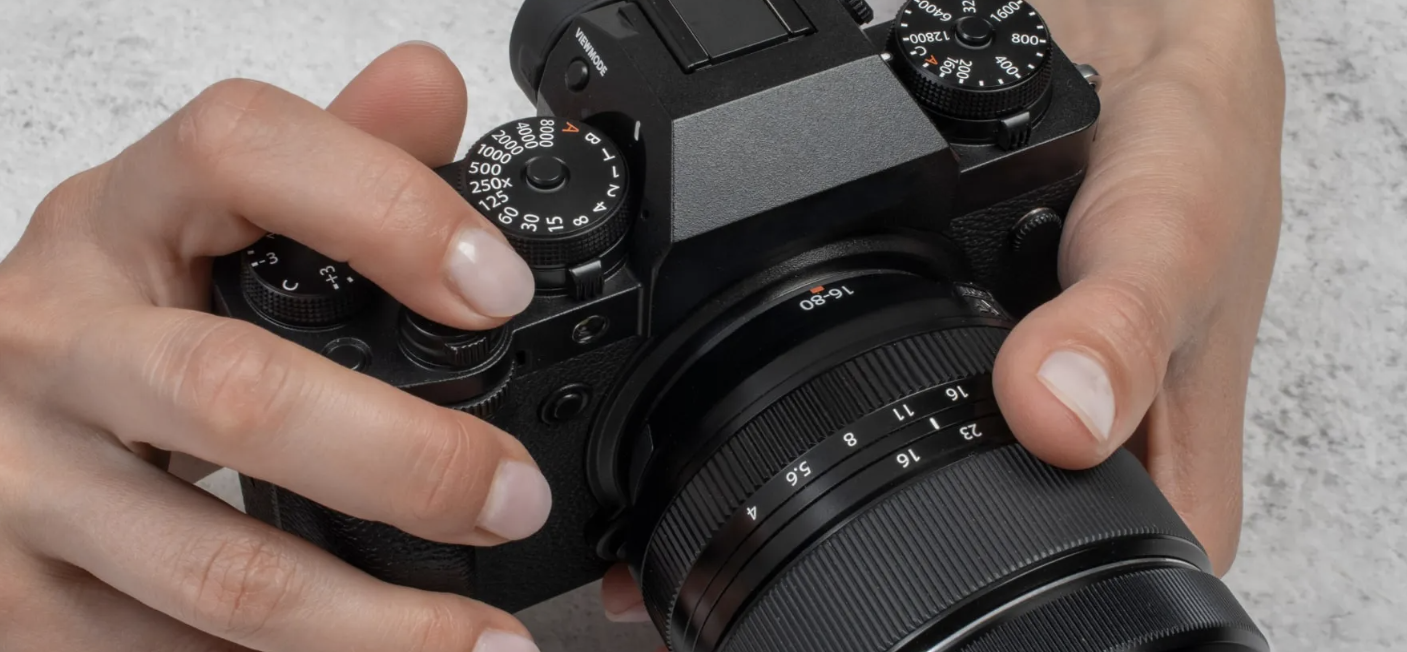
Before you begin snapping photos, you must familiarize yourself with your camera’s settings. These fundamental features will allow you to control how your images turn out.
- Aperture: The aperture controls how much light enters the camera. It also affects the depth of field (how much of the image is in focus). A wider aperture allows more light and creates a blurry background, while a narrower aperture allows less light but keeps more of the image sharp.
- Shutter Speed: This is the amount of time the camera’s shutter remains open. Faster shutter speeds capture quick moments and reduce blur, while slower speeds allow more light in but may introduce motion blur.
- ISO: ISO controls the camera’s sensitivity to light. Higher ISO values make the camera more sensitive, but they can also introduce noise (graininess) into the image. It’s important to strike a balance and choose the right ISO for the lighting conditions.
- Exposure: Exposure refers to how bright or dark an image appears, which is determined by a combination of aperture, shutter speed, and ISO. Proper exposure ensures that your images aren’t too dark or too bright.
- Histogram: The histogram helps you understand whether your exposure is correct. It displays the tonal values in your image, making it easier to adjust your settings for optimal exposure.
- Focus: Achieving sharp focus is essential for capturing clear images. Most cameras have an autofocus system, but manual focus can give you greater control, especially in challenging situations.
- Zoom: A zoom lens lets you adjust the focal length and magnify your subject without physically moving closer. You can also zoom by moving toward the subject, but a zoom lens provides more flexibility.
- Shooting Modes: Your camera has preset modes for different shooting conditions. Whether you’re photographing portraits, landscapes, or action shots, the right shooting mode can make a significant difference in your results.
- Metering Modes: As you gain experience, you’ll want to experiment with metering modes. These help you adjust your camera’s exposure settings for various lighting conditions.
- Raw vs JPEG: When you shoot in RAW, your images retain much more detail and flexibility for editing, whereas JPEG files are compressed and lose some data. RAW files are larger, but they give you more room to adjust in post-processing.
2. Composition: Framing Your Shots
Composition is the art of arranging the elements in your frame to create a visually pleasing and effective photograph. While you can learn the technical aspects of photography with your camera, composition is something you can practice anywhere, even without a camera. Here are some basic composition rules to help guide you:
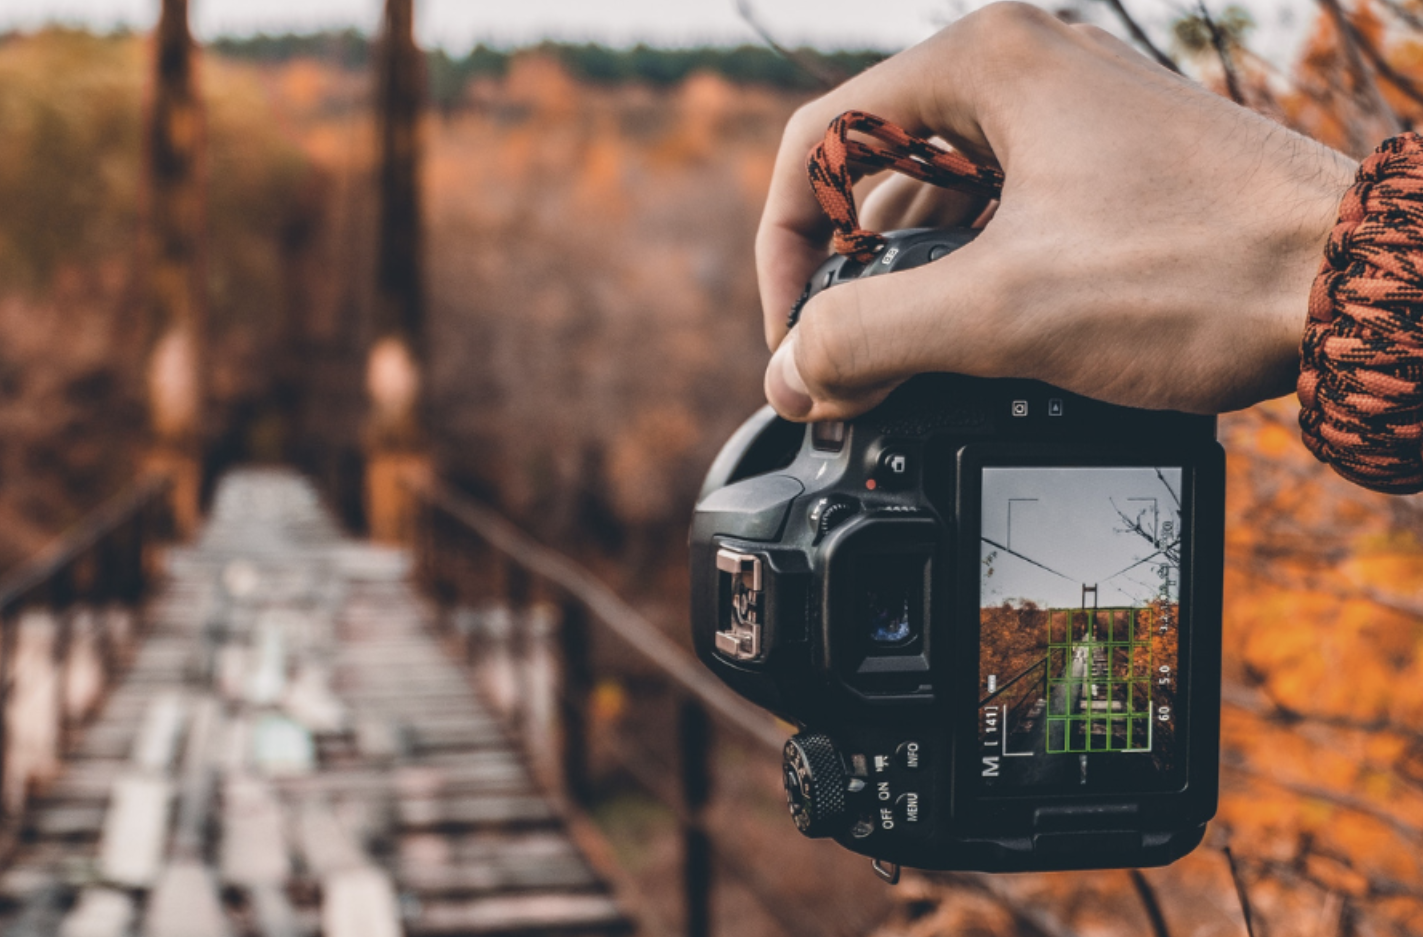
- The Rule of Thirds: Imagine your image divided into a grid of nine equal parts. The points where the lines intersect are ideal locations for placing your subject. This technique helps create balance and draws the viewer’s eye to the right parts of the image.
- Symmetry: Symmetrical compositions are visually striking, with the subject placed in the center of the frame. Symmetry can add harmony and structure to your photos, but be sure that everything in the frame aligns perfectly to maintain balance.
- Leading Lines: Use lines, either real or implied, to guide the viewer’s eye toward the main subject. These lines can be roads, rivers, fences, or even light patterns. In portrait photography, keep the lines subtle; in landscape photography, you can make them more prominent.
- Selective Focus: Focus on a particular subject to make it stand out from the background. This can be done by adjusting the aperture to create a shallow depth of field, which blurs the background and emphasizes the focal point.
- Lighting: Light plays a crucial role in photography. It’s essential to understand how light interacts with your subject and how it can create mood and depth. Natural light, especially during golden hour, can transform your images.
- Shooting Angle: The angle at which you photograph your subject can drastically change the feel of the photo. For portraits, try shooting at eye level or slightly above to capture flattering angles. For landscapes, experiment with different angles to enhance depth and perspective.
- Diffusion: Soft light adds depth and dimension to your photos. Harsh light can create unflattering shadows and a flat look. Use diffusers or shoot during times of the day when the light is softer, such as early morning or late afternoon.
- Color Temperature: Different light sources produce varying color temperatures, which can affect the overall tone of your photo. Adjusting the white balance on your camera ensures that the colors in your photo appear natural and balanced.
3. Practical Tips for Getting the Best Shots
- Read the Manual: Understanding your camera’s features is crucial, so take the time to read the manual and get familiar with all the settings.
- Location Scouting: Before a shoot, especially for landscape or outdoor portraits, take the time to explore your location. Pay attention to lighting, backgrounds, and potential obstacles.
- Experiment with Settings: Don’t be afraid to try different combinations of aperture, shutter speed, and ISO. Experiment with different perspectives and focal lengths to discover what works best for each situation.
- Take Your Time: Don’t rush your shots. Pay attention to the details, such as the composition, lighting, and the subject’s position within the frame.
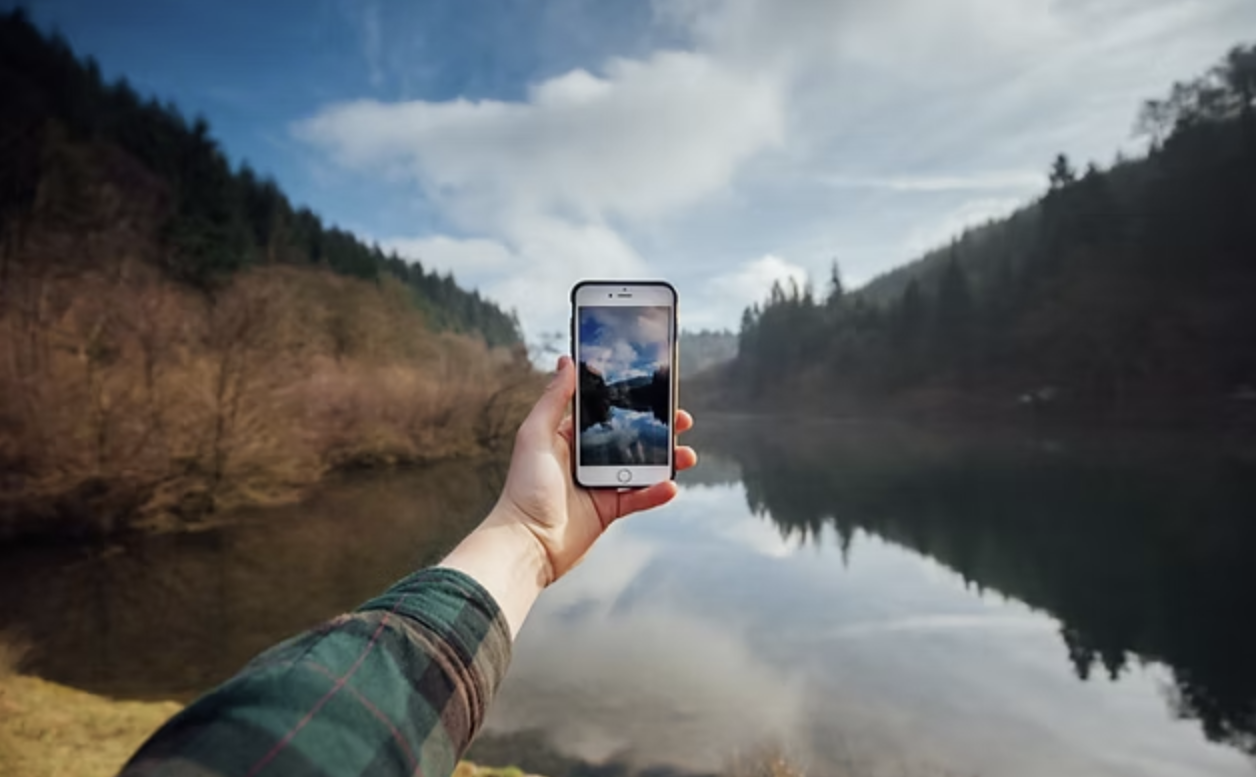
By understanding these fundamental concepts and practicing regularly, you’ll be well on your way to capturing stunning photographs that tell compelling stories. Whether you’re shooting with a DSLR, mirrorless camera, or smartphone, these tips will help you improve your skills and take your photography to the next level.