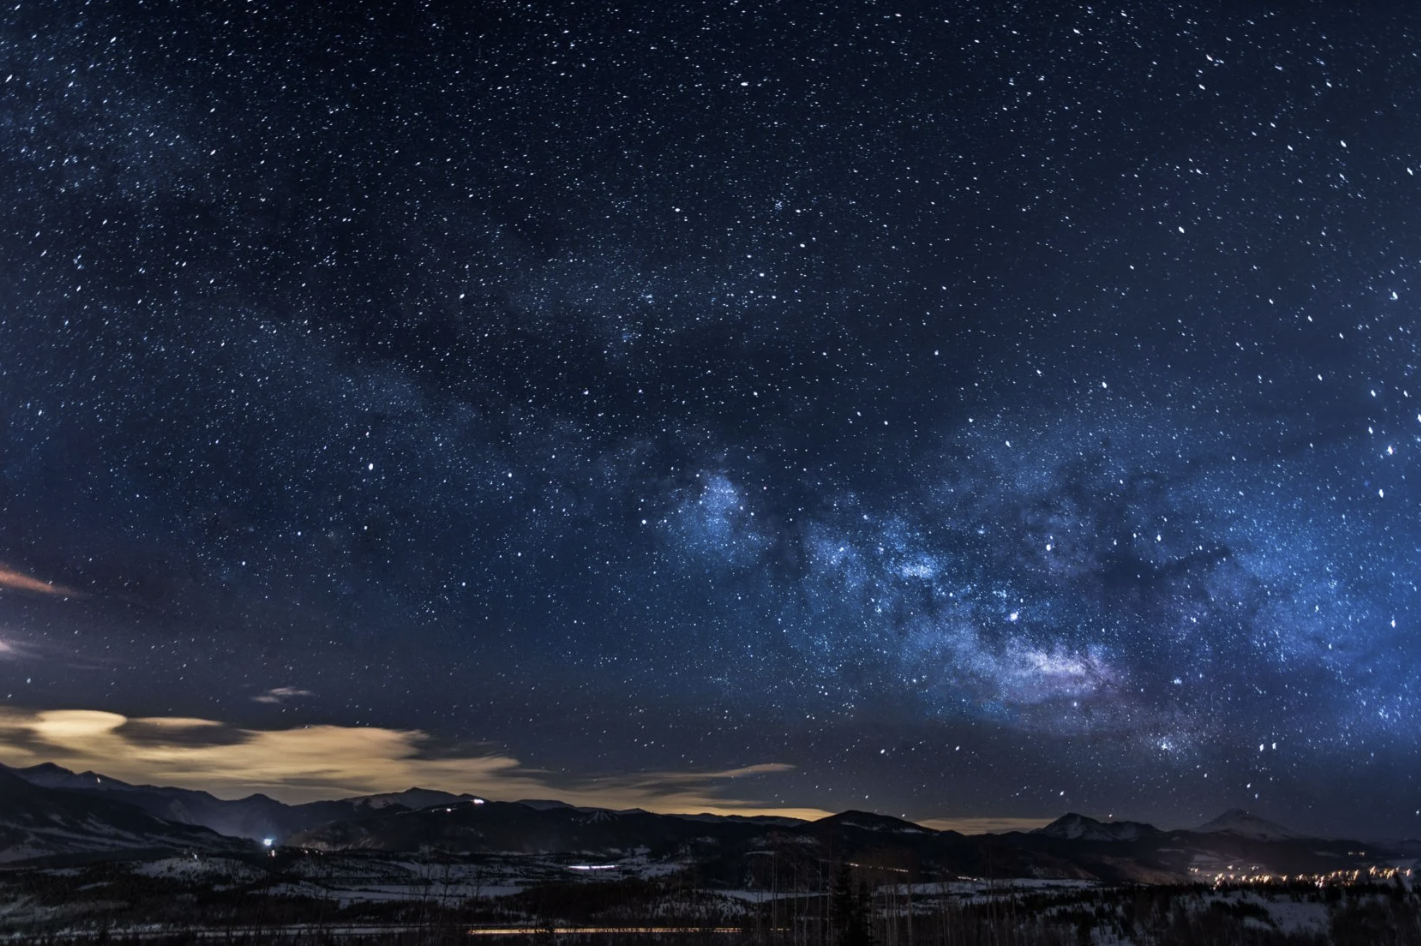
The blue hour, much like the golden hour, is a magical time of day for photographers. This brief period, which occurs just before sunrise or after sunset, is when the sky takes on a deep blue or purple hue, offering a unique and striking atmosphere for your shots. During this time, the urban landscape comes alive with artificial lights, adding contrast and interest to the scene. In this post, we’ll explore different ways to capture stunning blue hour images, and why shooting in RAW will give you more control over your images in post-production.
Shooting Light Trails at Blue Hour
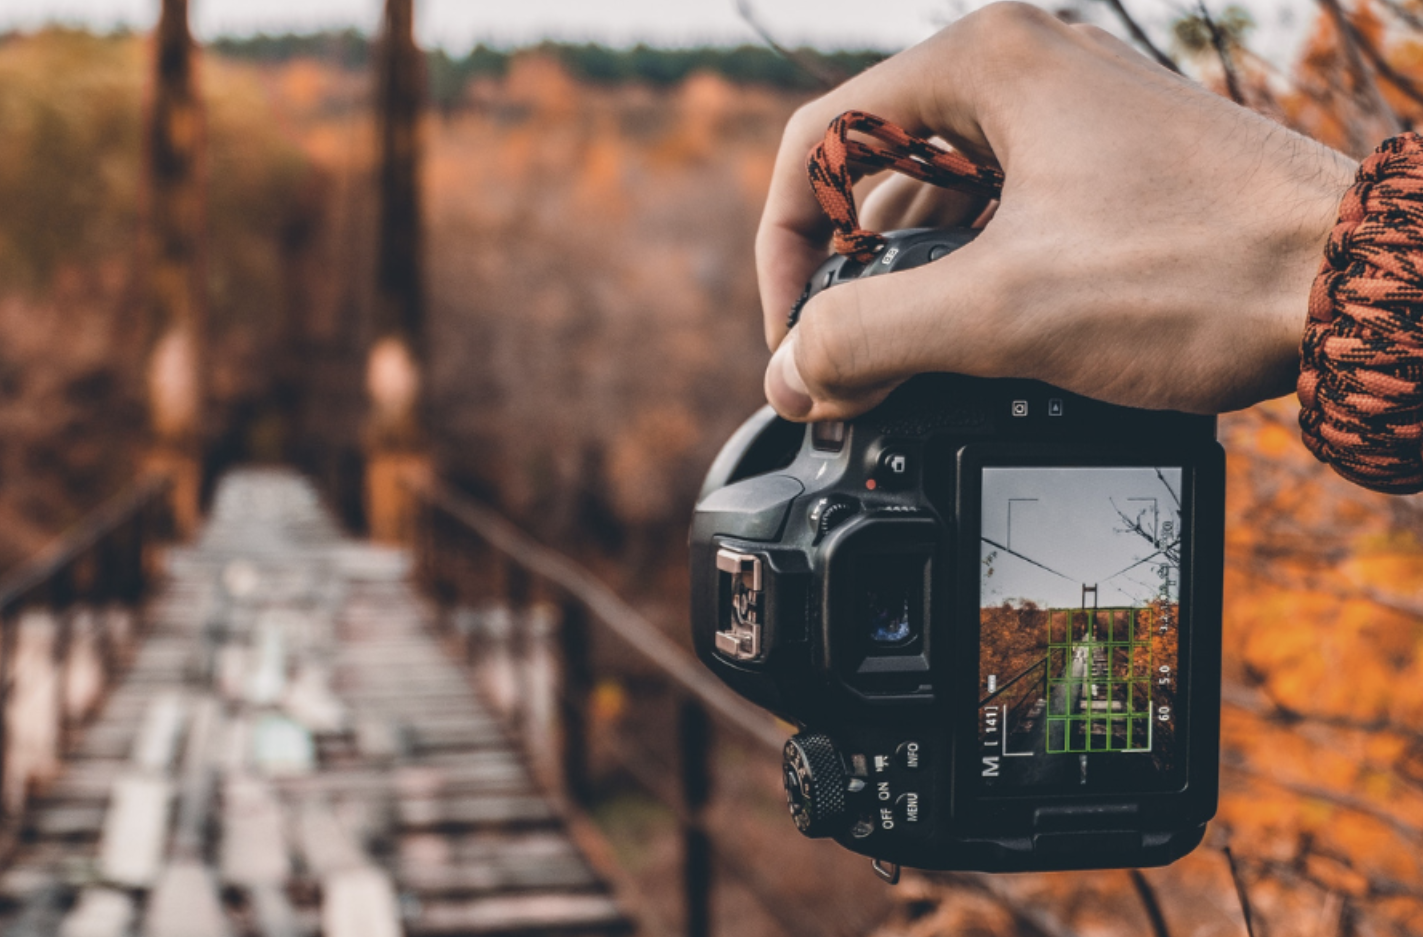
One of the best ways to utilize the blue hour is by capturing light trails. To get crisp, clear shots of moving lights, like car headlights or taillights, you’ll need a stable camera setup. A high-quality tripod is ideal, but if you don’t have one, you can improvise by using a sturdy surface, like a wall or a bench. Setting the camera’s self-timer to 2 seconds will help avoid any shake from pressing the shutter button.
Keep your ISO low, and experiment with shutter speeds ranging from 1 to 30 seconds, depending on the intensity of the light and the effect you want. A good aperture range for these shots is around f/5.6 to f/8. If you’re photographing light trails from cars, it’s best to find a location with steady traffic flow, as stops at traffic lights can interrupt the smooth motion you want to capture.
Fast-Paced Blue Hour Shots: The Run-and-Gun Approach
The blue hour doesn’t last long, and sometimes you may need to work quickly to capture the fleeting moments before the light fades. In these situations, the “run and gun” approach, a term borrowed from documentary filmmaking, can be very effective. This method involves shooting quickly with minimal gear, allowing you to adapt to the fast-changing light conditions.
For this type of photography, use a fast lens (f/1.8 or better) and increase your ISO. With modern cameras, you can push the ISO up to 6400 or even higher while maintaining good image quality with proper post-production. If you’re shooting moving subjects, adjust your shutter speed to freeze the motion of slower-moving objects while letting faster ones blur for added dynamism. Image stabilization, whether in the body or lens, can help reduce camera shake and improve the sharpness of your shots.
Capturing Reflections During the Blue Hour
The blue hour is an excellent time for capturing reflections, especially after a rain shower. Puddles can act as natural mirrors, reflecting city lights and traffic. If you have a camera with a flip-out LCD screen, use it to get low and shoot the reflections in puddles. This will help you avoid distortion and capture the scene accurately.
Reflections in windows or on the surfaces of cars can also create fascinating images. You can choose to shoot quickly using the run-and-gun method, or take a more deliberate approach with a tripod for slower shutter speeds, which will allow you to capture clearer, more detailed reflections, or even light trails in windows.
Cityscapes During the Blue Hour
Urban landscapes are perfect subjects for blue hour photography. The combination of artificial lighting and the rich blue sky creates a visually stunning contrast that can transform a city scene into something special. For wide cityscape shots, it’s best to use a tripod and a slow shutter speed, as there won’t be much movement in the scene. This allows you to capture sharp, detailed images.
To add more interest, look for areas with light trails, such as highways or busy streets, which can lead the viewer’s eye into the shot. Depending on your lens and aperture settings, you might also be able to create beautiful starburst effects around streetlights. If you don’t have a tripod, try using a wider lens and increase your ISO to allow for slightly faster shutter speeds.
Architectural Photography at Blue Hour
The blue hour is also an ideal time for capturing architectural details. Buildings that are well-lit against the twilight sky can look dramatic and captivating. However, the lighting may take some time to reach its full intensity, so arrive early to set up and be prepared to wait for the perfect moment.
Shoot in RAW to preserve as much detail as possible, and experiment with different apertures to avoid starburst effects from bright lights. If you notice motion blur in your images, such as from flags or trees moving in the wind, adjust your shutter speed and ISO to reduce the blur without losing too much light.
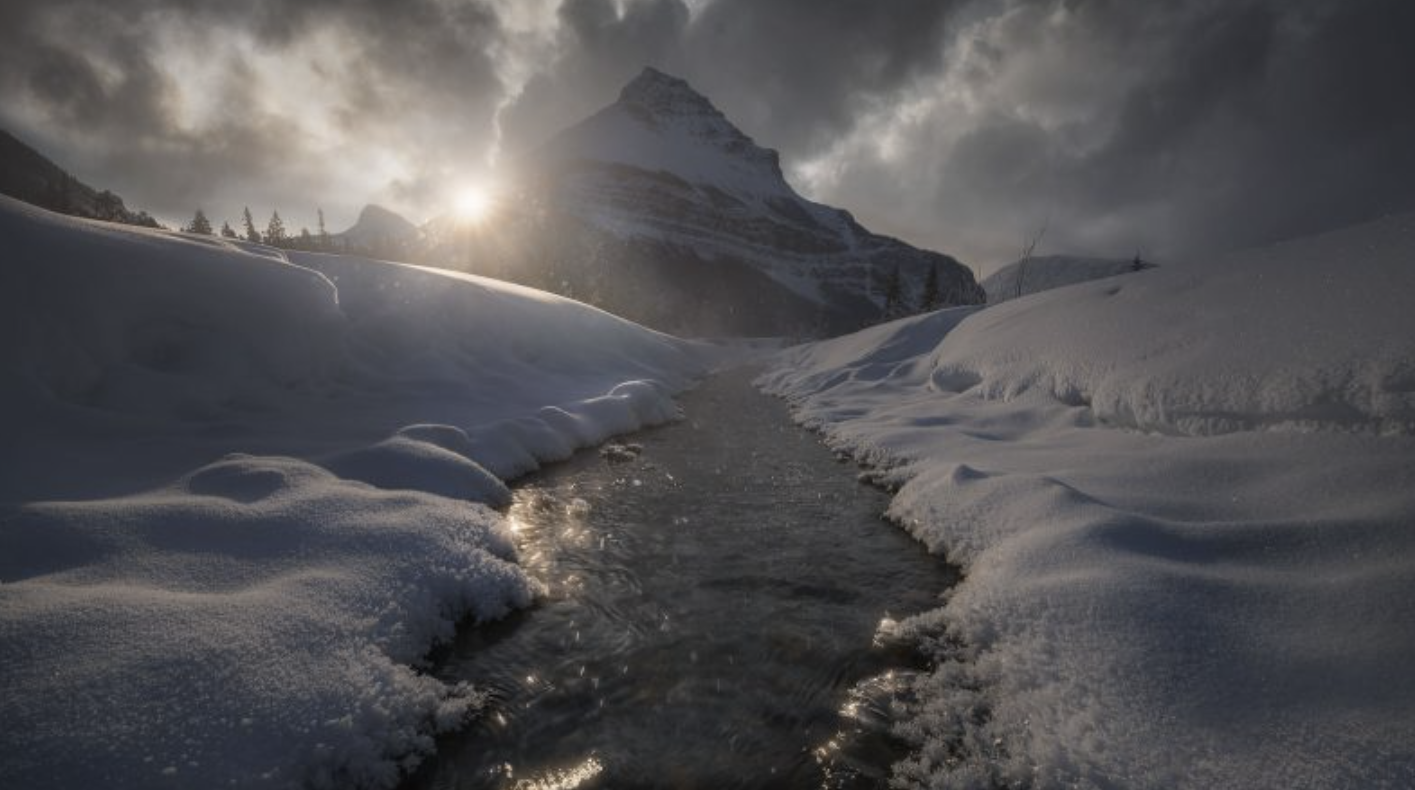
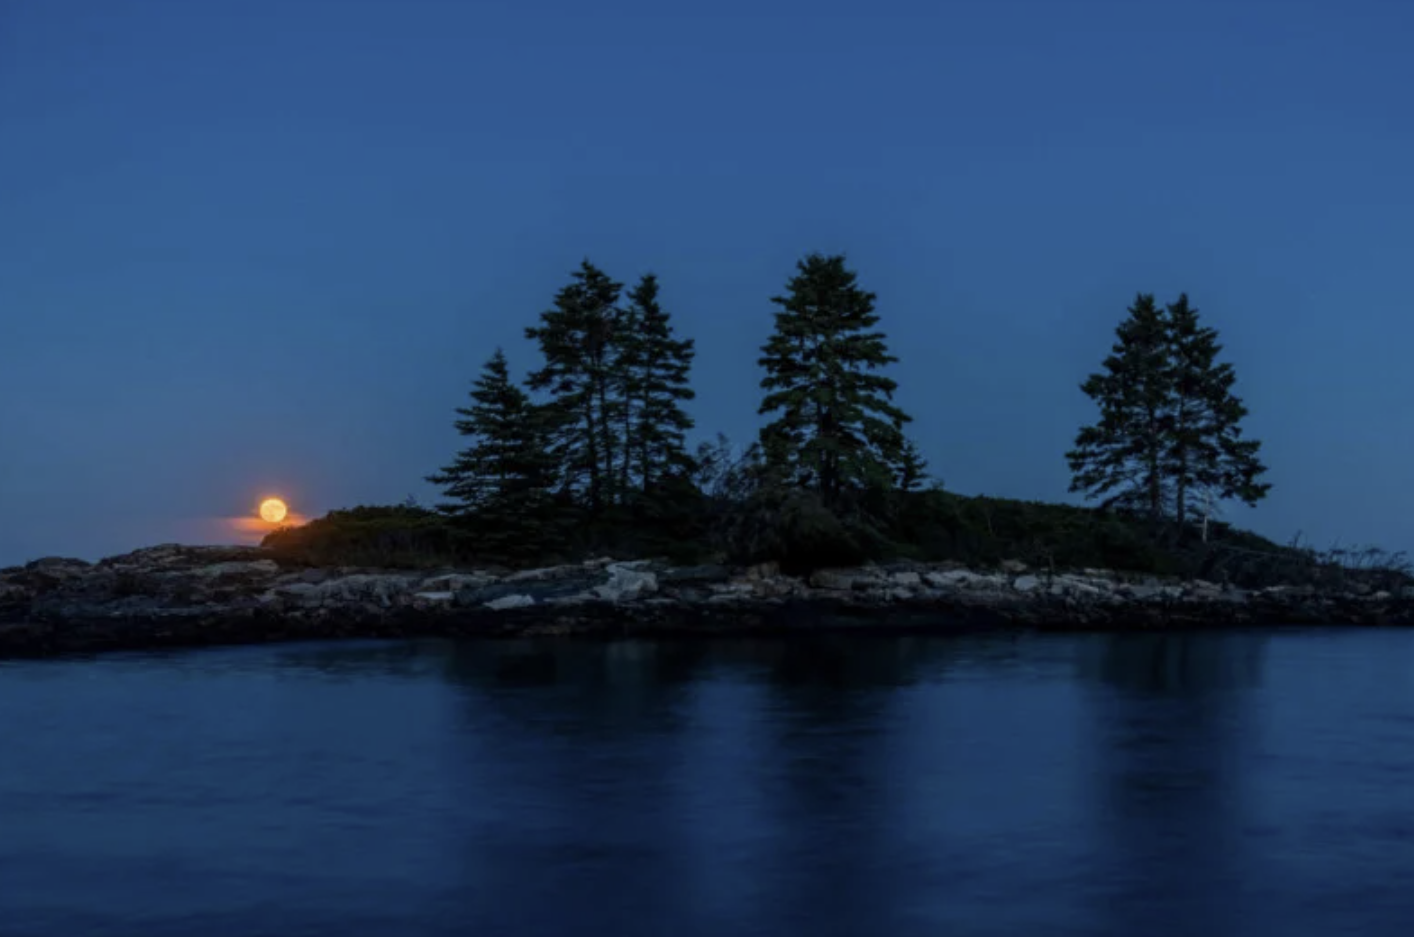
Moonlit Landscapes and Seascapes
Blue hour isn’t just for city scenes—it can also work beautifully in natural landscapes, especially when the moon is visible. A nearly full moon, combined with the deep blue sky, can create ethereal and surreal shots. Use longer exposures to bring out details in the shadows and create a soft, ghostly effect in your photos.
Coastal shots taken during the blue hour are some of the most breathtaking. The last hints of sunlight on the horizon, combined with the blue sky and the motion of the sea in a long exposure, can create striking and tranquil seascapes.
Final Thoughts
The blue hour is an underrated gem for photographers. While it may not last as long as the golden hour, its unique color palette and lighting effects offer endless creative possibilities. Whether you’re capturing light trails, reflections, cityscapes, or even moonlit landscapes, the blue hour can elevate your photography. And with modern technology, shooting at this time of day doesn’t require complex setups. By utilizing fast lenses, higher ISOs, and stabilization features, you can capture stunning blue hour images with ease.
Whether you’re a casual photographer or a seasoned pro, the blue hour is an opportunity you won’t want to miss.