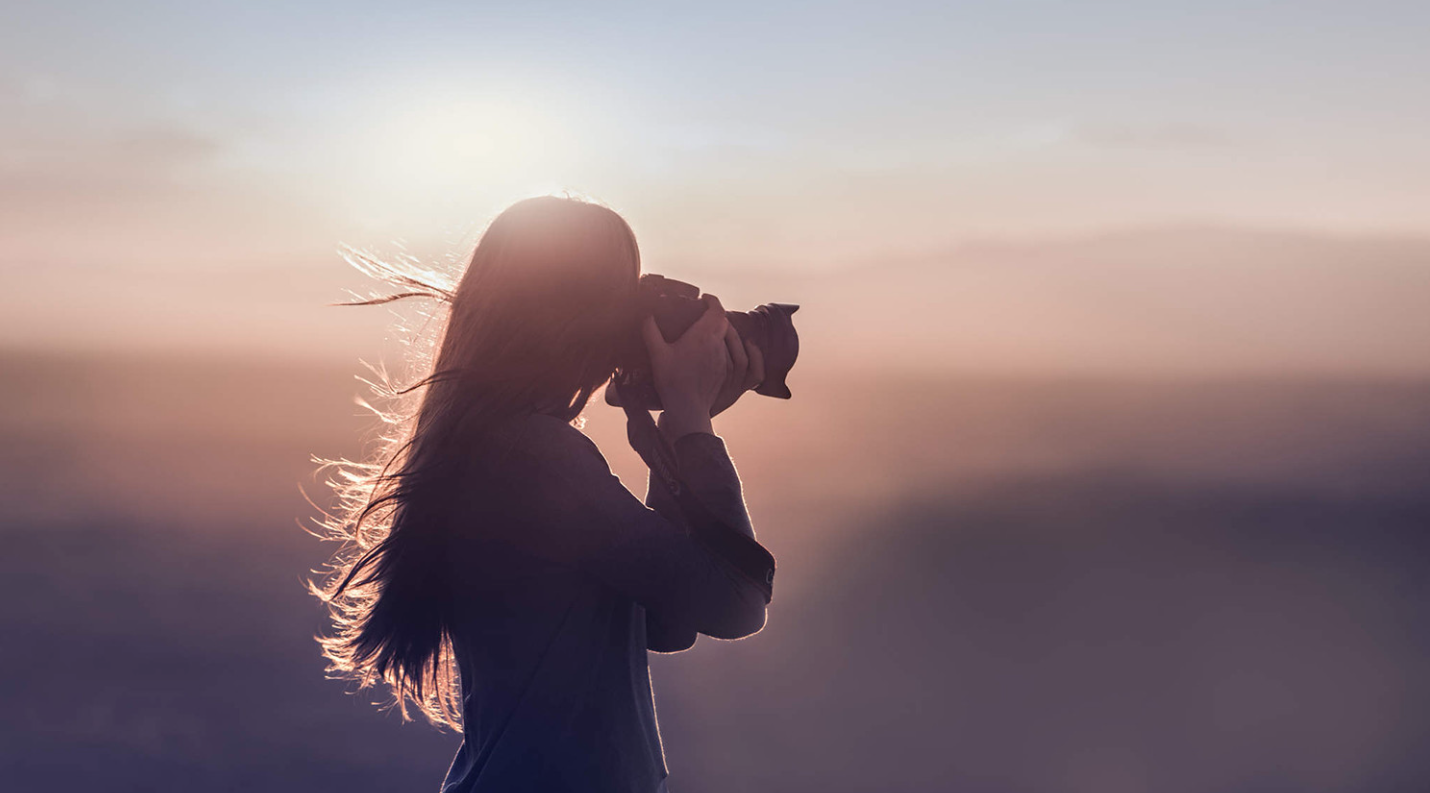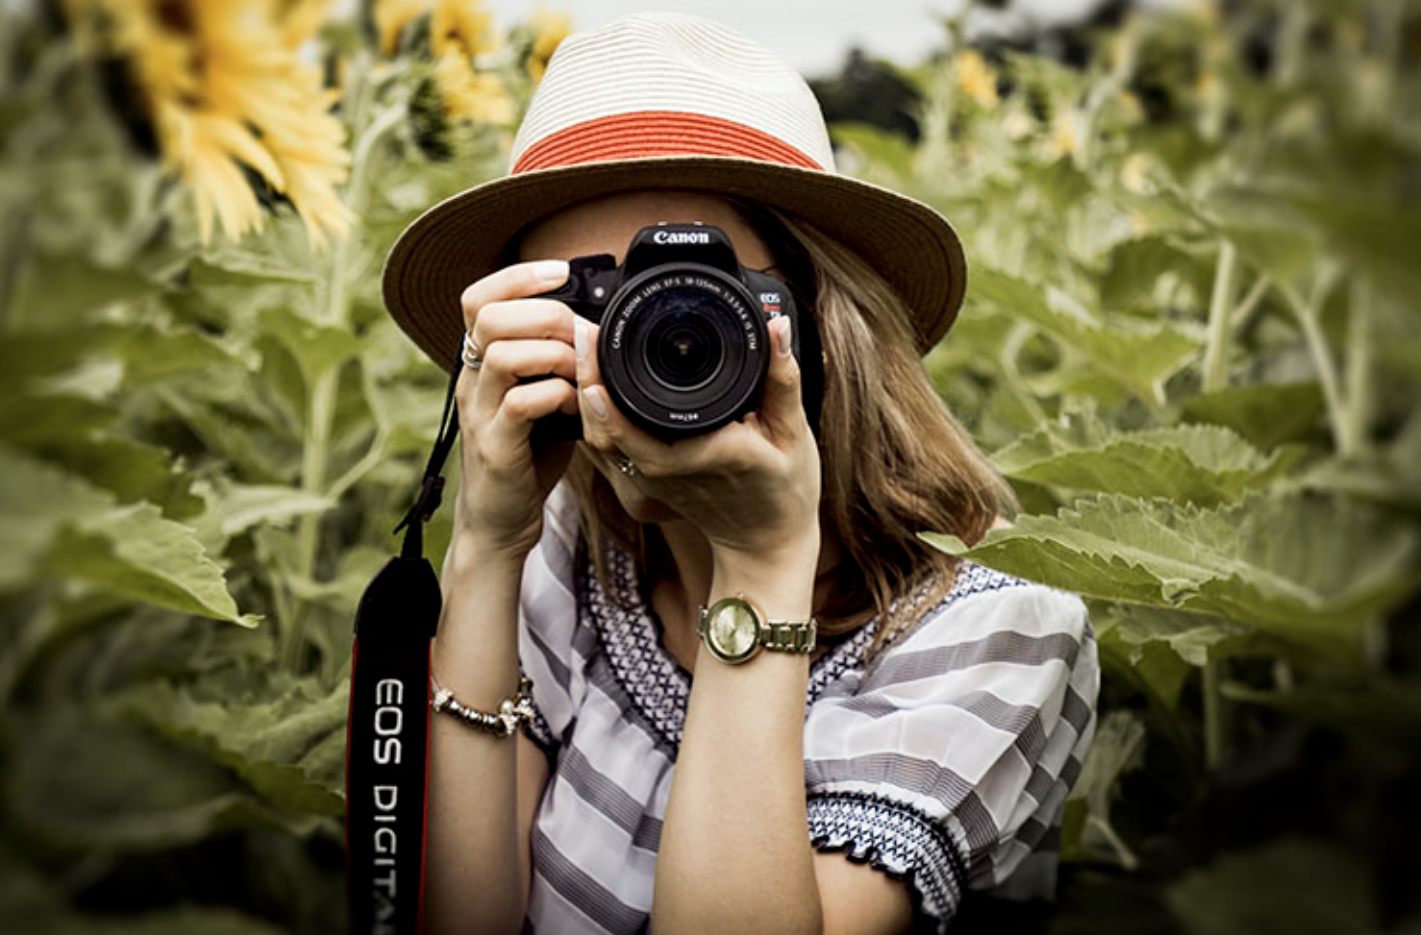
At some point in every photographer’s journey, there’s a desire to capture stunning portraits. While a controlled studio environment with specialized lighting and beautiful backdrops can certainly be ideal, the reality is that many photographers prefer or are limited to outdoor settings. Fortunately, with the right camera settings and lenses, you can create breathtaking portraits in natural light. Let’s explore how to capture beautiful outdoor portraits using the tools and techniques available to you.
Location Matters, But So Does Preparation
When it comes to outdoor portrait photography, location is often considered one of the most important factors. While the setting plays a significant role in the mood and story of the shot, it’s not the only consideration. To achieve striking portraits with minimal post-processing, understanding your camera settings is crucial. With the right approach, you can capture magical moments in-camera, reducing the need for extensive editing.
Which Camera Mode to Choose?
Modern digital cameras offer several modes, each serving a different purpose depending on the shooting conditions. Some cameras have a menu to select the mode, while others use dials. The most common modes are Program (P), Shutter Priority (TV), Aperture Priority (AT), and Manual (M). Let’s break down how each mode can be used for outdoor portraits:
- Program Mode (P): This is the default, where the camera decides both the shutter speed and aperture. It’s convenient but limits creative control.
- Shutter Priority (TV): This allows you to set the shutter speed while the camera adjusts the aperture to ensure proper exposure. It’s perfect for motion shots or controlling the amount of light that enters.
- Aperture Priority (AT): Here, you control the aperture to adjust the depth of field, and the camera automatically selects the shutter speed. It’s great for portraits where you want a blurred background.
- Manual Mode (M): As the name suggests, this gives you complete control over both shutter speed and aperture, allowing for maximum creative flexibility.
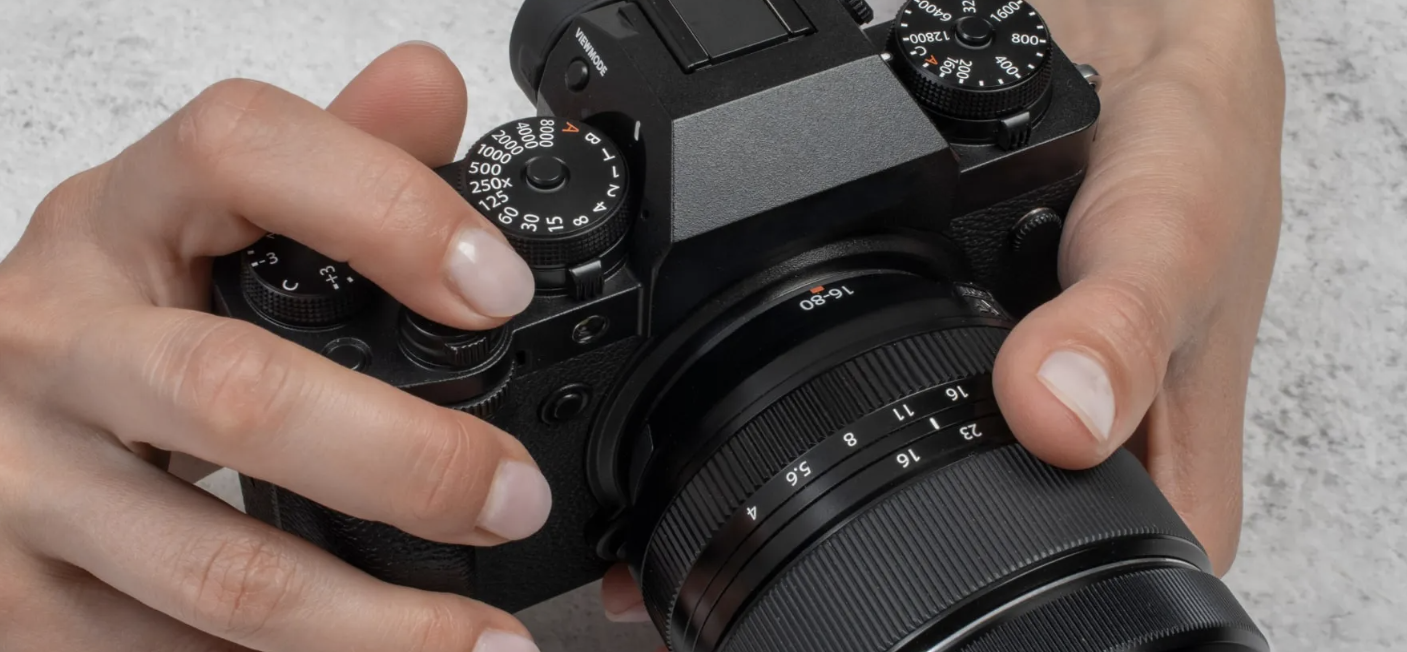
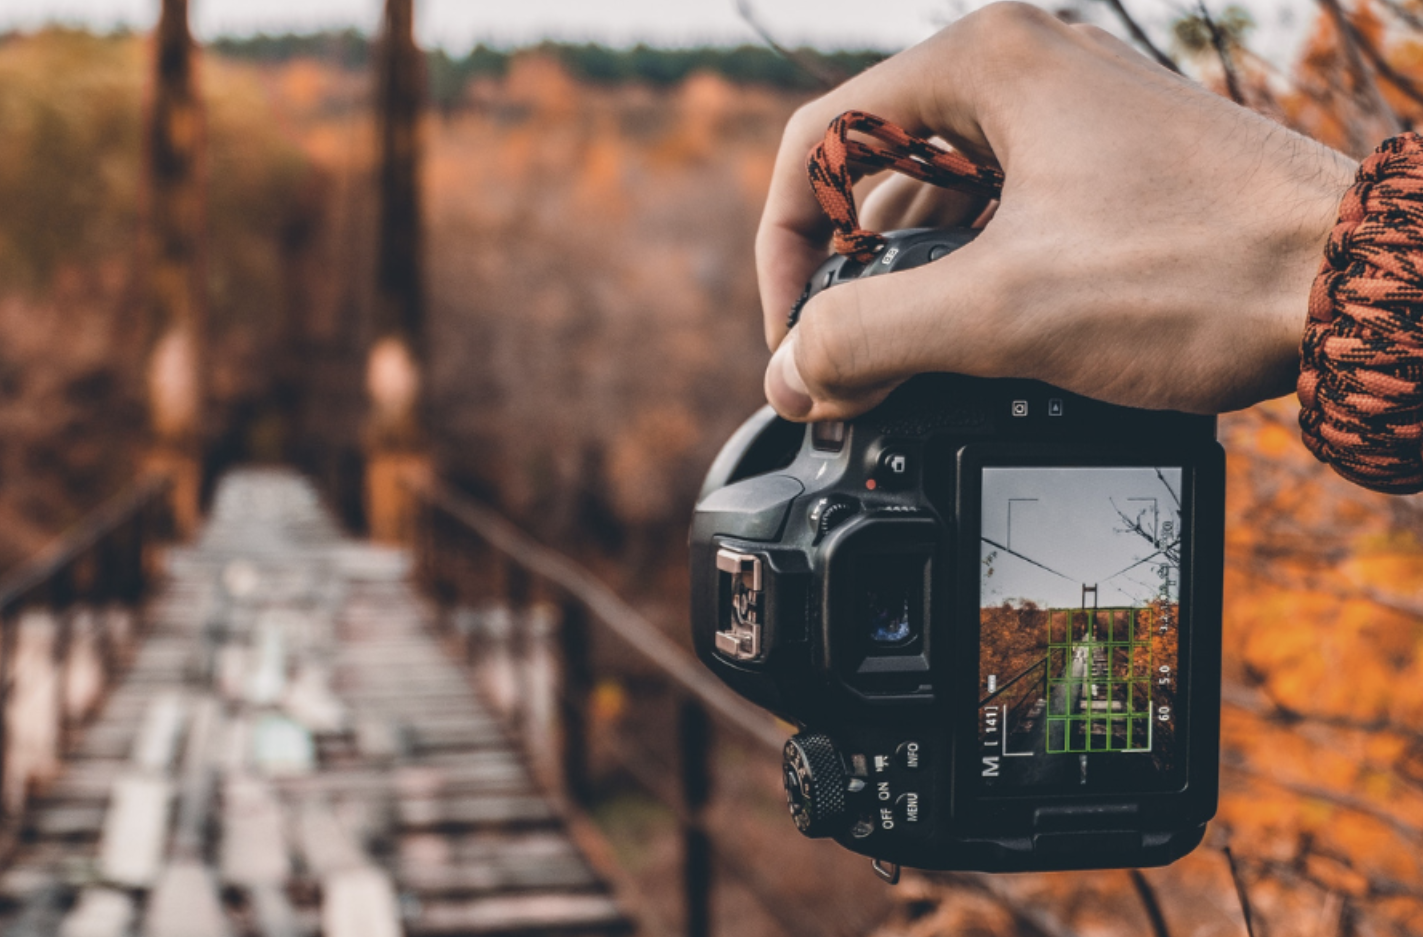
Essential Settings Beyond the Mode Dial
Once you’ve chosen your camera mode, there are additional settings to help perfect your outdoor portraits. Two of the most important are ISO and white balance, which influence the overall quality of your shots.
ISO
ISO controls the sensitivity of your camera’s sensor to light. The lower the ISO, the less digital noise you’ll have, resulting in a clearer image. Conversely, higher ISO settings can introduce noise, which becomes more apparent at higher levels. For the clearest portraits, aim to keep ISO low, especially in well-lit environments. However, in low light conditions, increasing ISO may be necessary.
White Balance
White balance affects the color temperature of your photos, influencing how warm or cool the image appears. The default setting, Auto White Balance (AWB), usually works well, but for outdoor portraits, it’s often better to manually adjust based on the lighting. Use daylight for direct sunlight, shade for cooler tones, or cloudy for a warmer feel. For more precise control, you can use the Kelvin scale to fine-tune the temperature, with daylight around 5,500K and overcast skies reaching up to 7,000K.
Shooting in Various Outdoor Environments
Each outdoor location offers unique challenges and opportunities for portrait photography. Here are some tips for different settings:
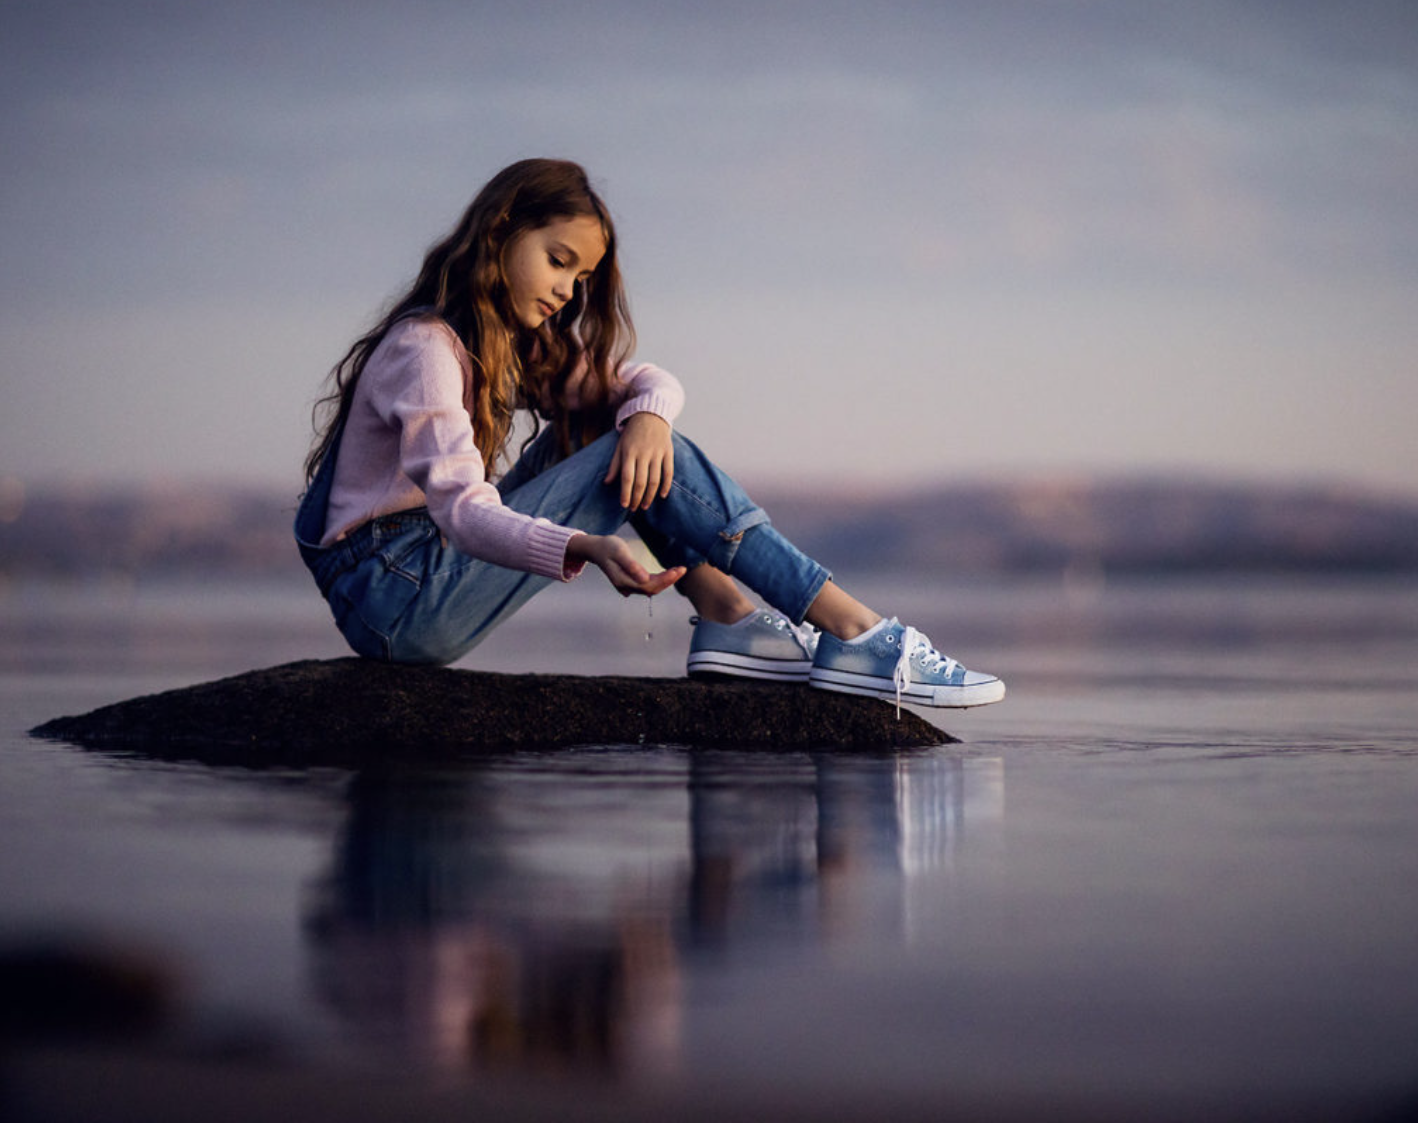
At the Beach
Shooting portraits by the water can be stunning, but exposure can be tricky. The bright, reflective surface of the water can cause the sky to overexpose, leaving your subject in the dark. To balance the exposure, consider using a flash, even during the day, to illuminate the subject while maintaining the correct exposure for the background.
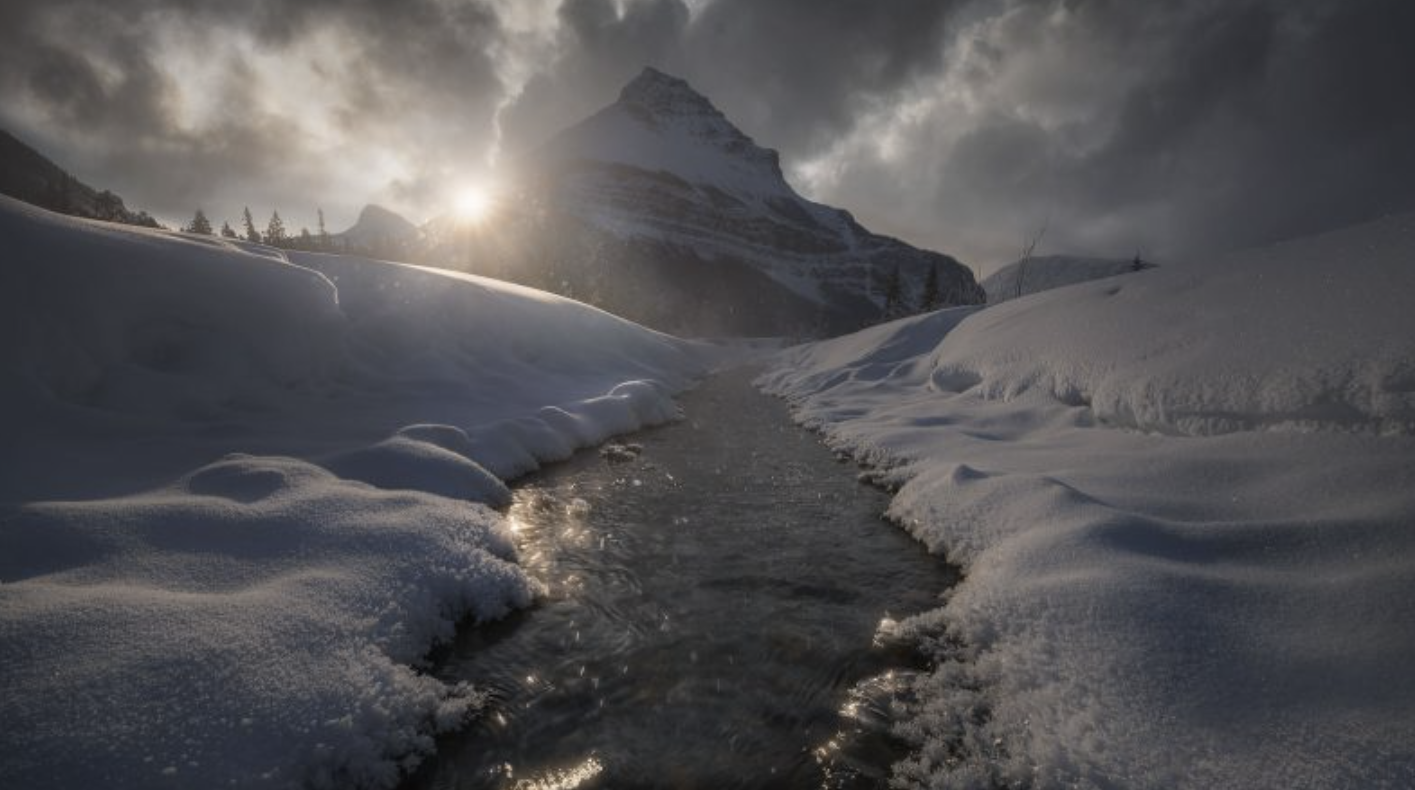
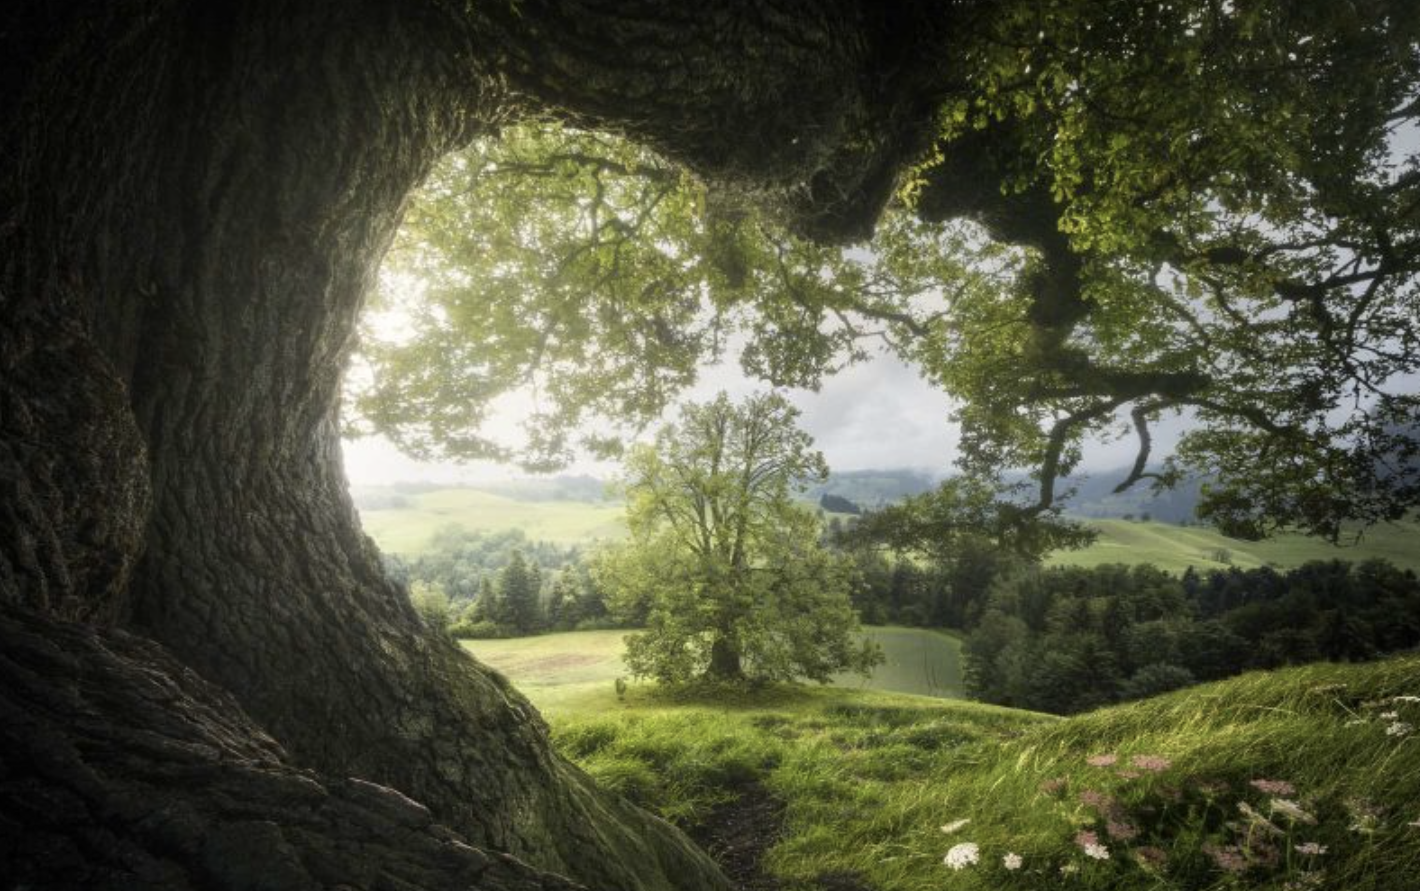
In the Forest
The forest offers a magical setting for portraits, but it often has low light due to the canopy blocking the sun. To compensate, widen your aperture or increase your ISO to gather more light. Adjusting the white balance can also help correct any color shifts caused by the greenery around you.
In the City
Urban environments offer an array of creative backdrops, but shadows from tall buildings can create harsh lighting contrasts. To avoid this, schedule your shoot during the golden hour (just before sunset) or the blue hour (just after sunrise), when the lighting is softer and more flattering for portraits. These times add a magical glow to your subjects and help soften the shadows.
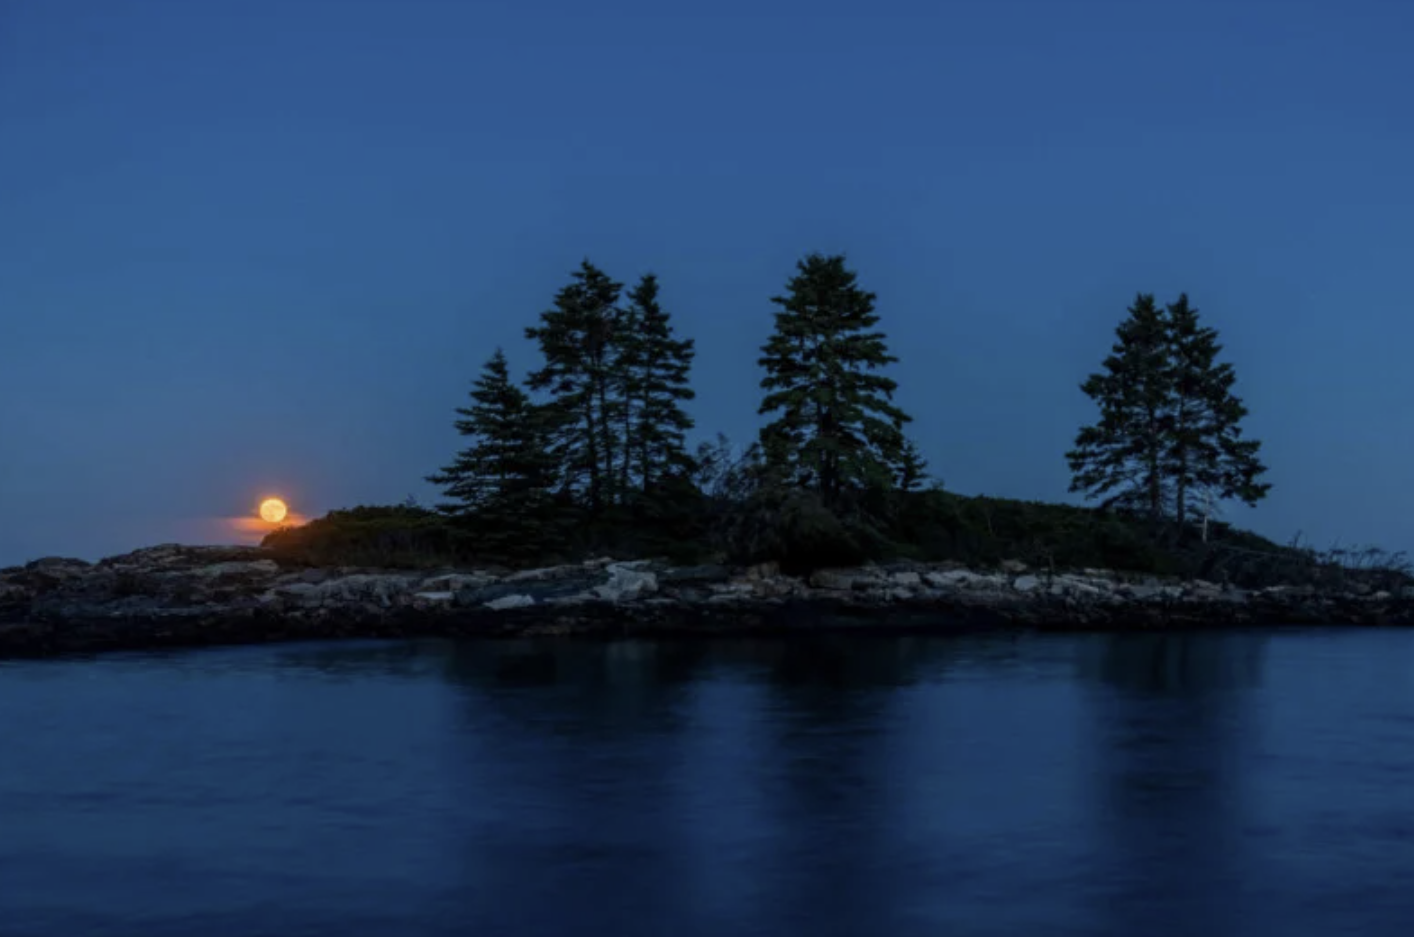
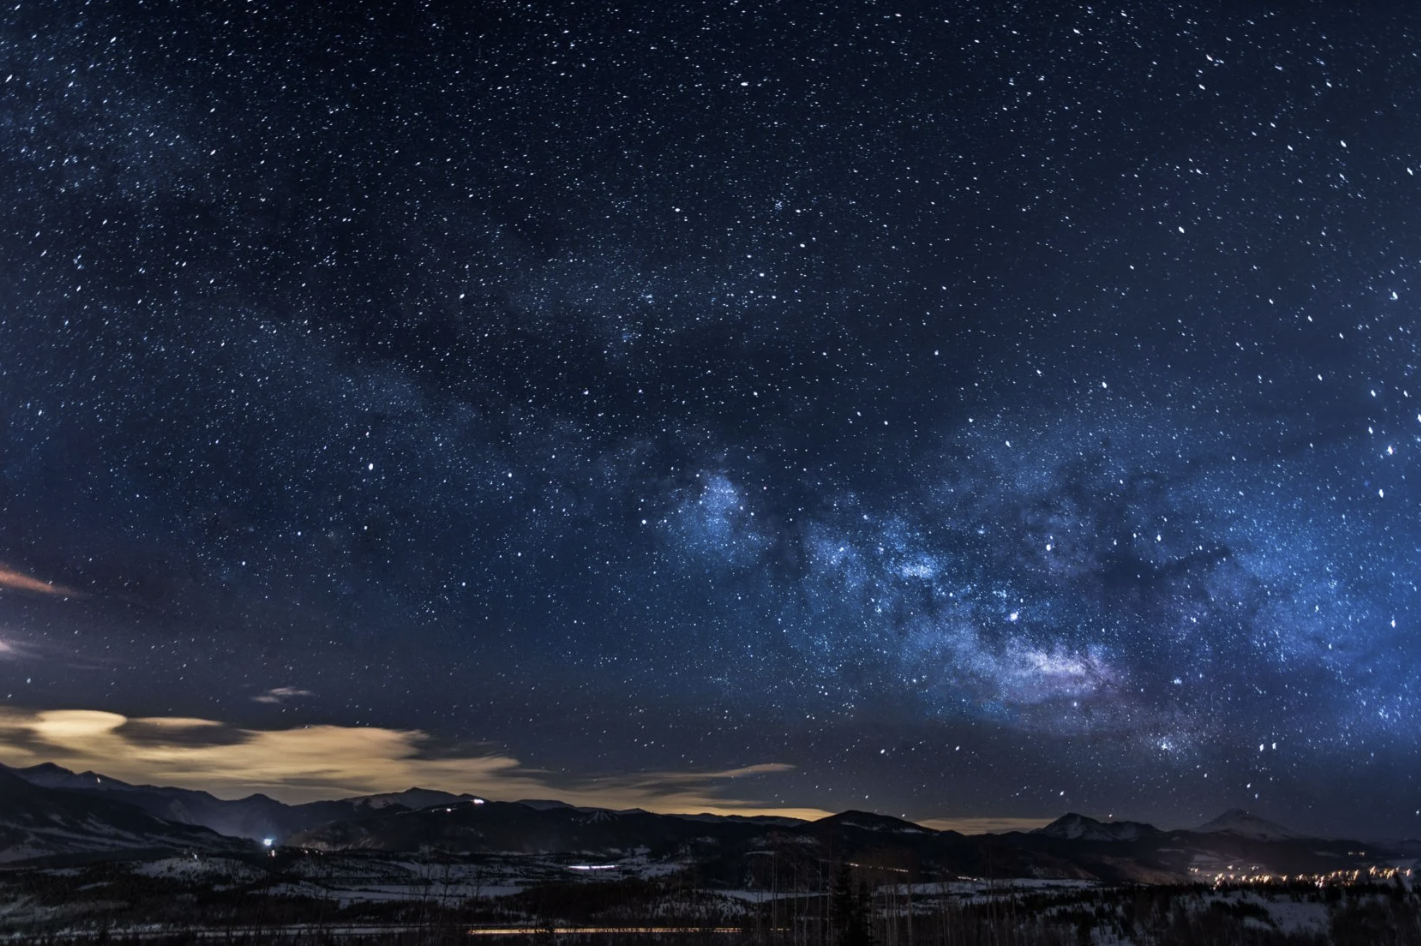
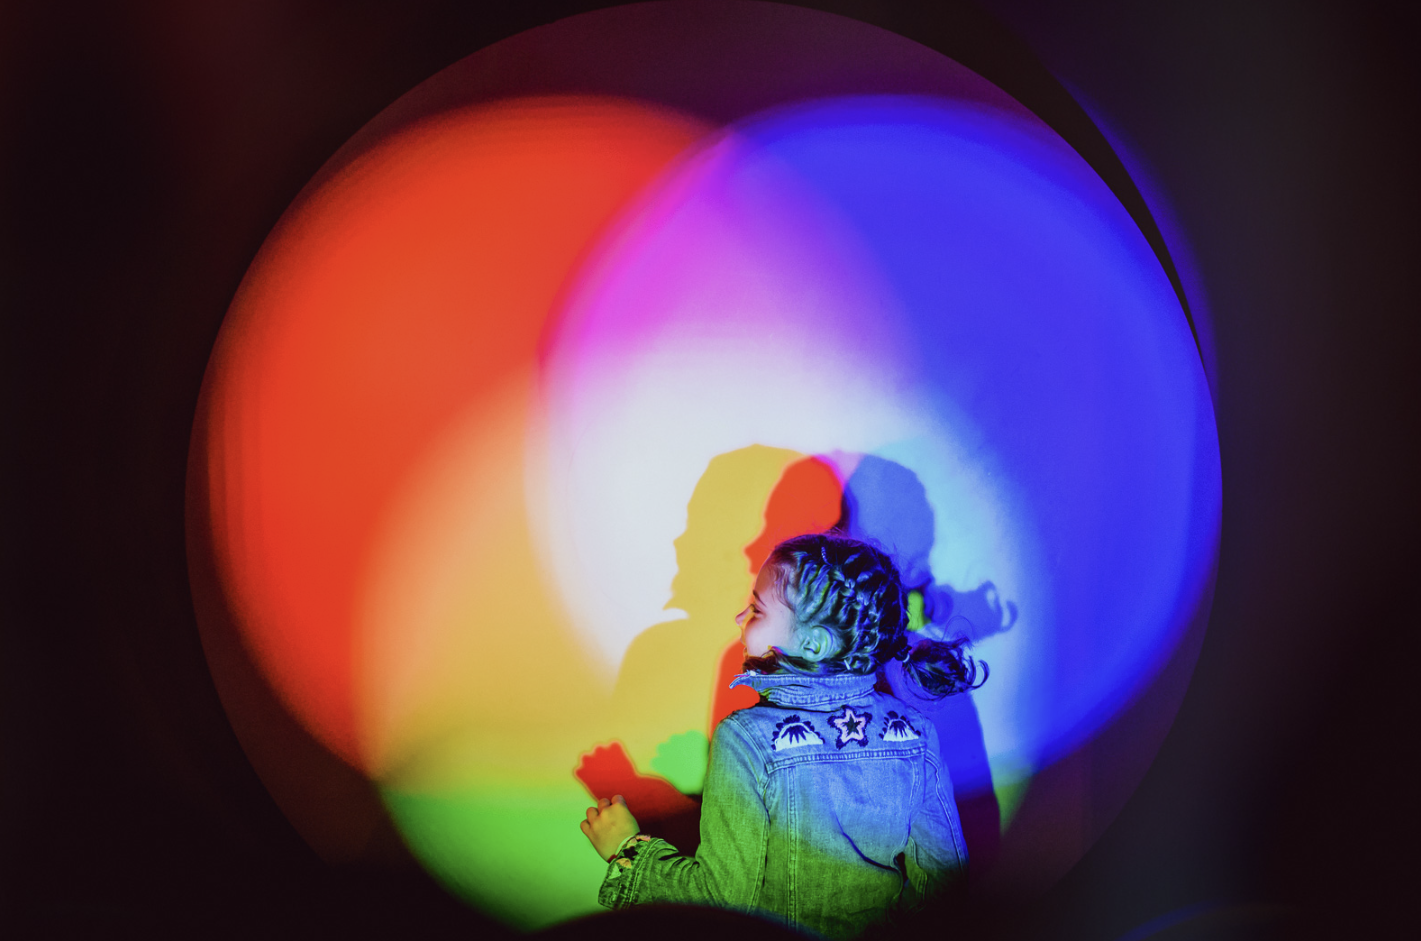
At Night
Nighttime portraits offer a unique chance to experiment with creative lighting techniques, such as light painting. By using a long exposure, you can move an LED light around your subject to create an artistic effect. A quick flash can freeze the subject, while the light trail adds an ethereal, creative touch to your images.
Camera Settings for Stunning Outdoor Portraits
To capture the best outdoor portraits, keep the following camera settings in mind:
- Depth of Field: For portraits, use a shallow depth of field to blur the background and make your subject stand out. A wide aperture (like f/2.8) is ideal.
- Manual Focus: In low light or tricky conditions, autofocus may struggle. Use manual focus to ensure sharpness, especially when shooting at a wide aperture.
- Exposure: Slightly underexpose your shots for a more dramatic, moodier effect. If you’re unsure, you can adjust exposure in post-processing.
Post-Processing Tips for Outdoor Portraits
Even with the right settings, some editing can enhance the mood of your outdoor portraits. Consider the following adjustments during post-processing:
- Exposure: Adjust the exposure slightly to perfect the lighting, especially in high-contrast situations.
- Contrast: Increasing contrast can help your subject stand out, particularly when shooting in overcast conditions.
- White Balance: Fine-tune the white balance to ensure the colors are accurate and the tone suits the mood you want to convey.
- Saturation: If the image feels too muted, increase saturation to bring life to the colors. However, avoid oversaturating, especially in natural settings.
- Sharpness: Apply sharpening carefully, ensuring the subject remains clear without overdoing it.
Conclusion
Outdoor portrait photography allows for creativity and exploration, with each setting offering its own set of challenges and rewards. By mastering your camera settings, adjusting to your environment, and experimenting with different techniques, you can capture stunning portraits in any outdoor location. With a little practice, you’ll be able to shoot portraits that require minimal post-processing and truly showcase the beauty of the world around you.